Flexia theme offers full control to enable Footer content on your website. You can personalize your footer in the section of your website in Fleixa with absolute ease.
How To Enable Footer In Flexia #
Follow this step-by-step guide to enable the footer to your website with Flexia theme.
Step 1: Open Your Flexia Theme Customizer #
Log in to your WordPress dashboard, then navigate to the ‘Appearance’ → ‘Customize’. There you can find the options to enable footer content.
Afterward, go to the ‘Footer’ option where you can find all the options to add a footer and customize it for your website without any hassle.

Step 2: Enable Footer On Your Website #
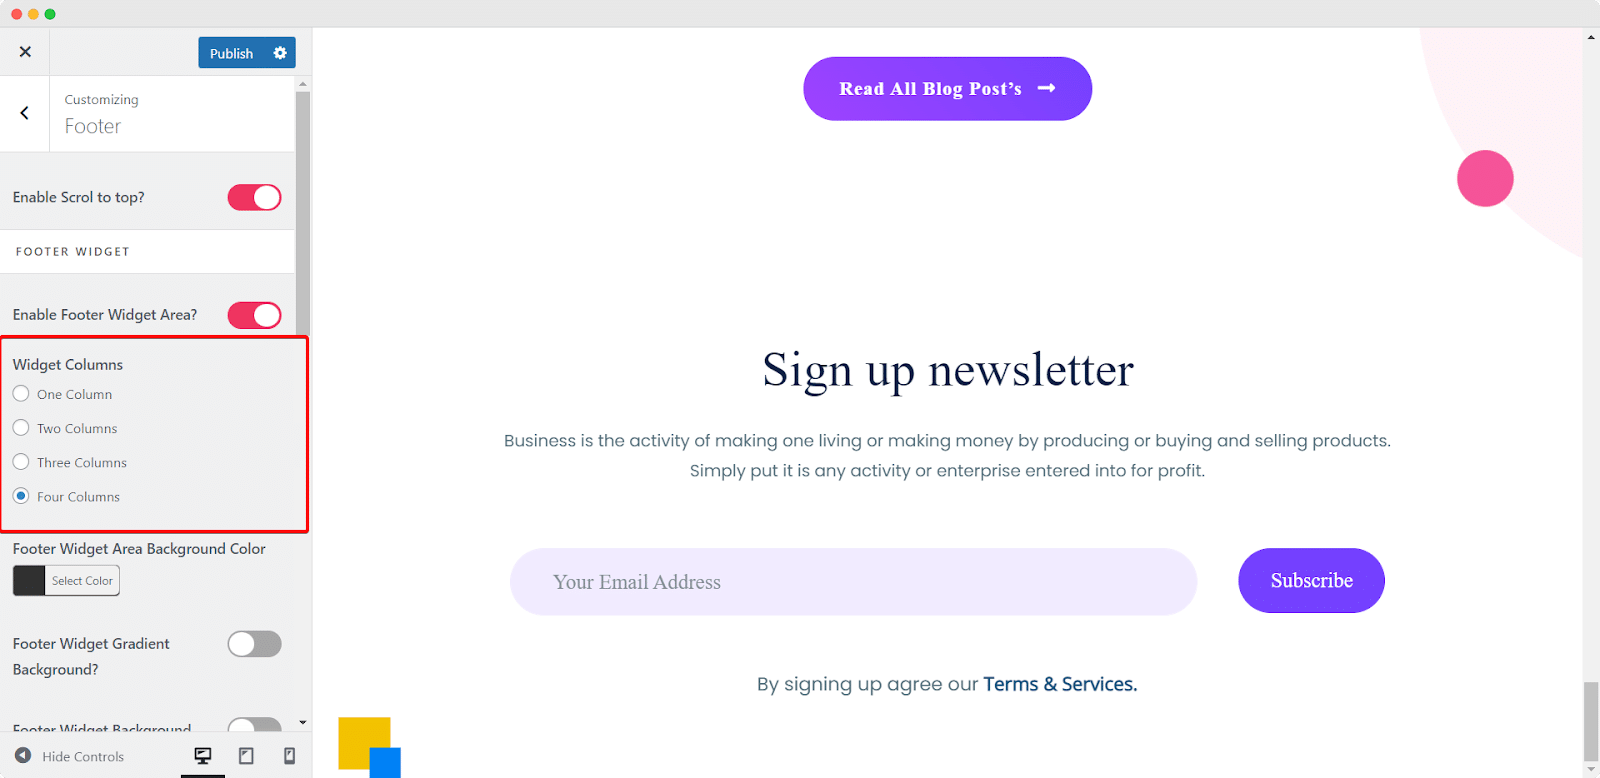
Now, if you want to add a scrolling option on your website to scroll from down to top toggle on the ‘Enable Scroll to top?’ option first. Then to enable the footer widget area toggle on the ‘Enable Footer Widget Area?’ option.
After that, you select how many columns you want to have on your footer. With the Flexia theme you can add up to 4 columns on your website.
Step 3: Style Your Footer Area #
Now, customize the Footer Widget Area Background Color just the way you want. You can choose any color you want and enable the gradient color option for your website.
Step 3: Add Image To Footer Area #
To an image on the background of your footer, toggle on the ‘Footer Widget Background Image?’ option. Now, click on the ‘Select Image’ option to upload any image for your footer background.
Afterward, set the alignments of the background image and choose the color for the overlay of the image. You can also control the opacity of the overlay color from there.
Step 4: Adjust The Color Of The Footer Area #
Now, adjust the color of the footer content from below. In Flexia, you can easily change the color of the footer content, footer link, and footer link hover color with absolute ease.
Step 5: Enable The Bottom Footer #
Now, from the below toggle on the ‘Enable Bottom Footer?’ option add the copyright area on your website. You will find versatile options to adjust this section as well.

Step 6: Style The Bottom Footer Area #
Now, choose the colors for the background, content, links, and link hover as you want. You will find endless coloring options to customize the bottom footer area there.
Step 7: Add Content To Bottom Footer Area #
Now, add the content you want on the bottom footer area to showcase your content on the footer section. Simply, add any text there which will be added to the bottom footer area.
Final Outcome #
Once you have customized the footer content, click on the ‘Publish’ button. Now you can see a new footer on the website page you visit on your website.
This is how easily you can easily enable Footer in the Flexia theme. Got stuck? Feel free to contact our dedicated support team.


