Flexia offers complete compatibility with the most popular WordPress Multilingual Translation Plugin WPML. It allows you to translate Flexia’s entire dashboard, page content, header, footer, and other content into any language you want. Let’s follow the step-by-step guidelines to translate the Flexia theme with WPML below:
How To Configure WPML Plugin Settings? #
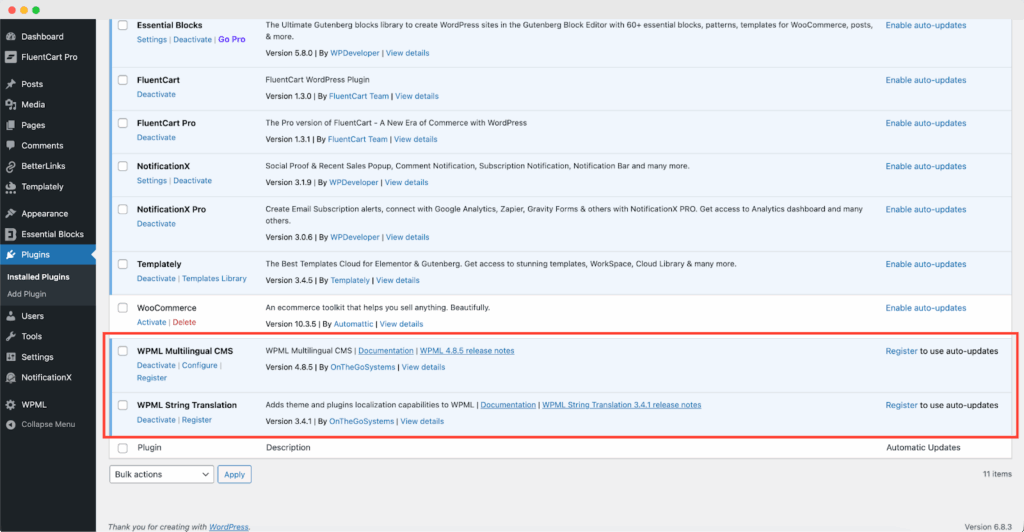
To translate Flexia theme with WPML, first, install and activate the following plugins on your WordPress site; WPML Multilingual CMS and WPML String Translation. You can check out this WPML doc to configure it on your WordPress site for more information.
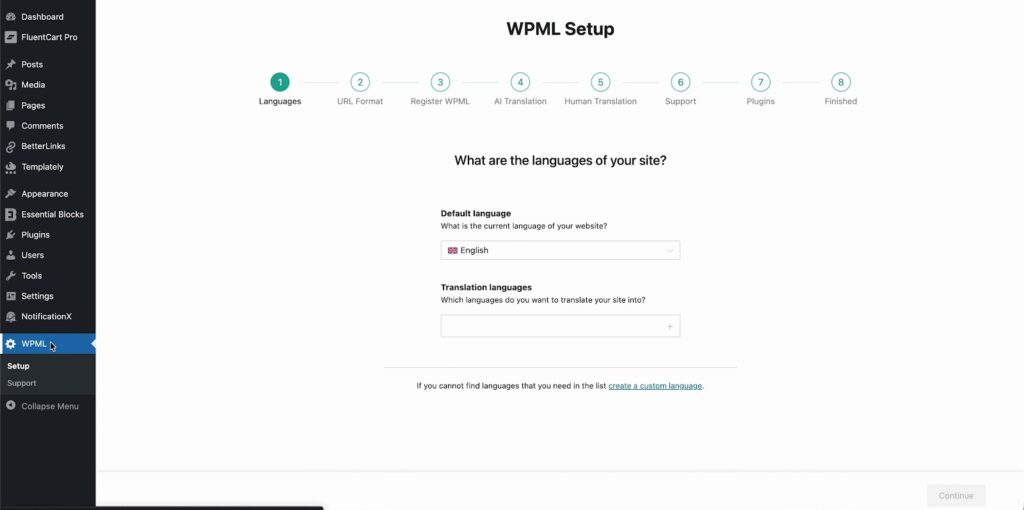
After installing these plugins on your WordPress website, go to ‘WPML’→ ‘Setup’ from your dashboard and select the current language and the language you want to translate to. For instance, we are selecting the ‘German’ language to translate our website.
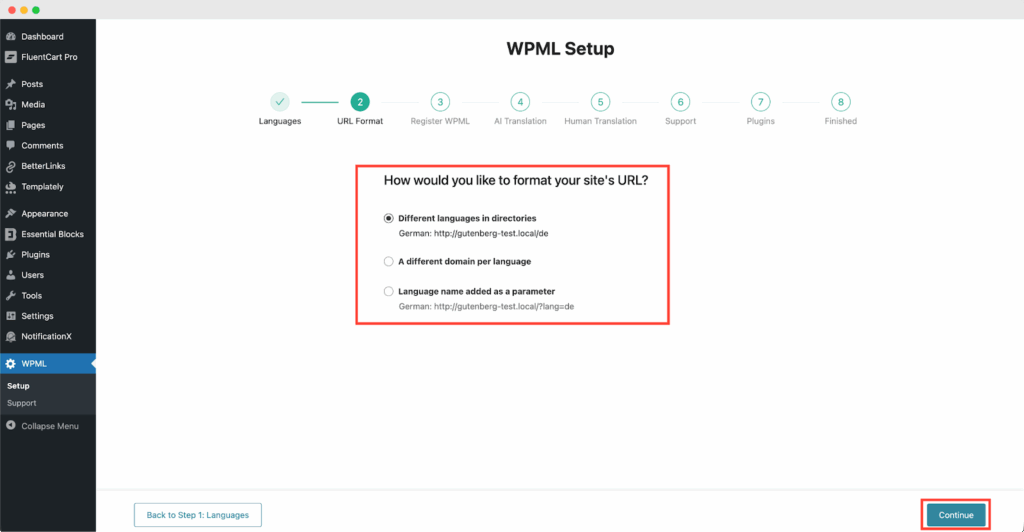
Follow the on-screen instructions in the WPML Setup wizard and add your site key. Select the site URL format from the three options. Click on the ‘Continue’ button for the next step
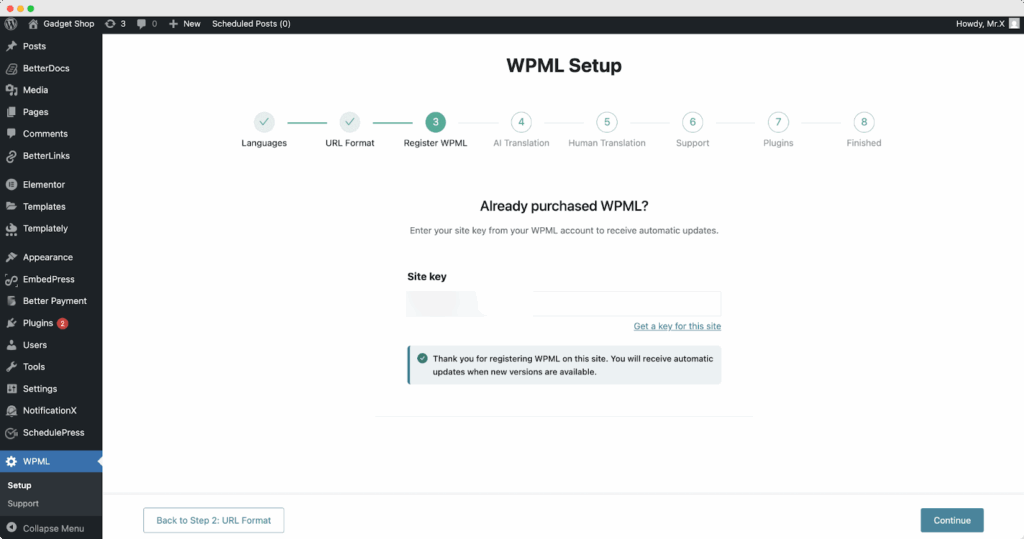
Enter the site key from your WPML account. After that, click on the ‘Continue’ button to proceed to the next step.
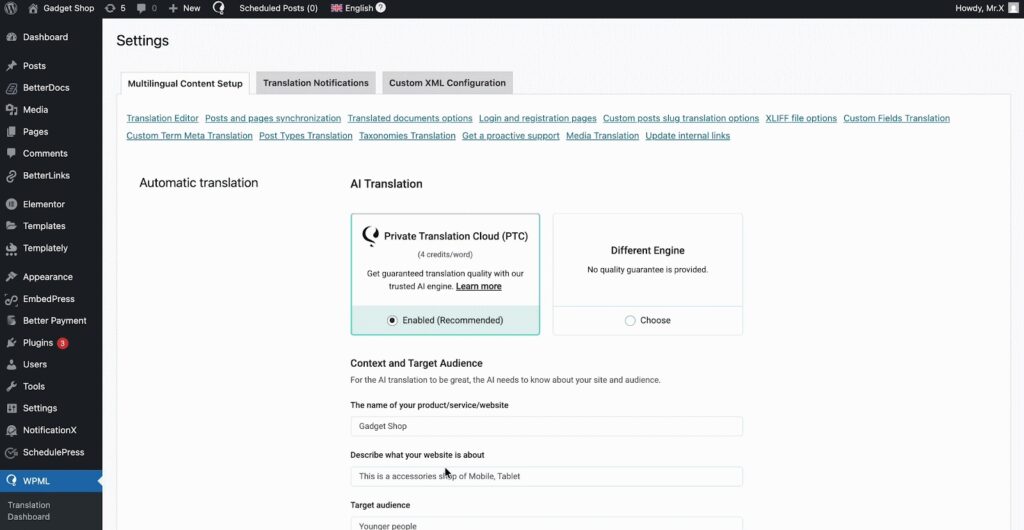
Next, you will find the AI Translations option. Here, you can set the context and target audience for your language settings. First, add the product/ service/ website name. Then describe more about the website. After that, select the “Target Audience”, that you want to translate for.

Besides the AI translation, next, you can choose human translation as well. Select how you would like to set up your human translation from the setup.

Now, to get faster support and compatibility alerts, you can choose to receive theme and plugin information when needed.

Once you complete the previous steps, the WPML plugin will be ready. You can now use it on your WordPress website.

Now, to enable translation, go to ‘WPML’ → ‘Languages’. Set your native language, and select any language you prefer.

Now, navigate to ‘WPML‘→ ‘Settings‘. Enable ‘Private Translation Cloud (PTC)’ options. Afterward, click on the ‘Save’ button before hitting the ‘Apply’ button at the bottom of the page.
How To Use The WPML Automatic Translation Option? #
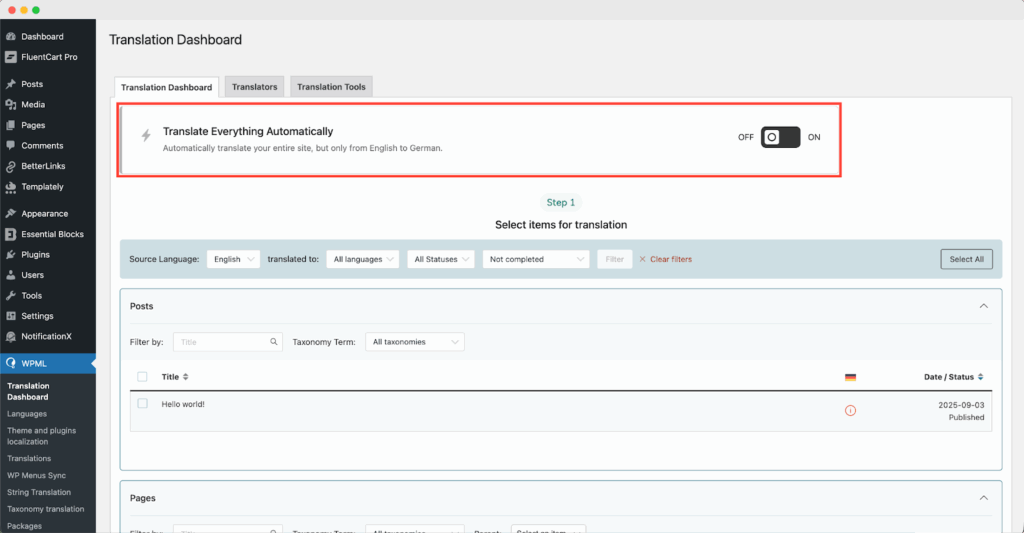
The Flexia theme is compatible with WPML’s automatic translation feature. In the Translation Management section of the WPML plugin dashboard, you can access this advanced feature.
With this, you can automatically translate your website’s content, including menu, widgets, etc. Simply toggle the “Translate Everything Automatically’ button to enable it. You can also select a review option for each translation. You will have the option to change it later from the WPML Settings option.
Note: You can enable Translate Everything Automatically after sending some content for translation.
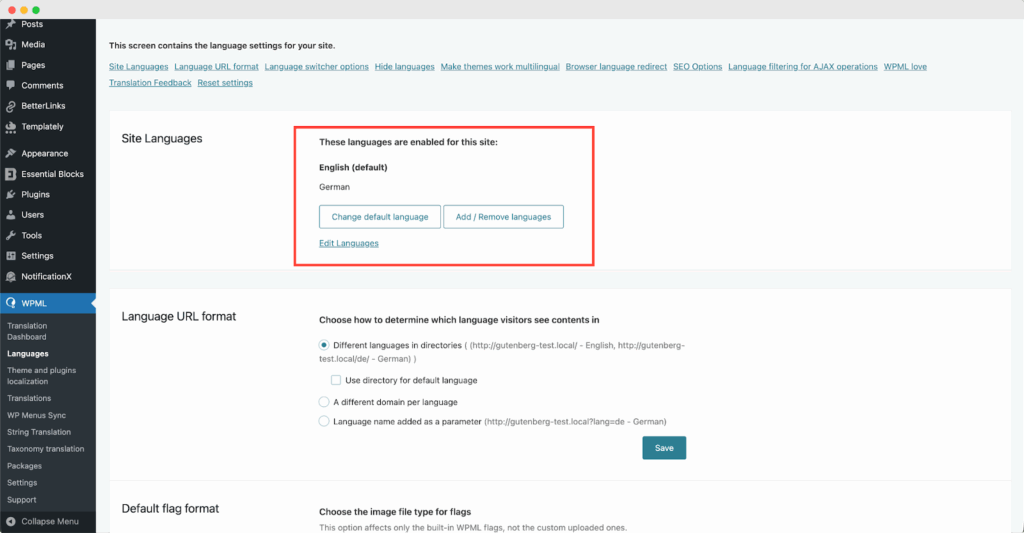
After that, go to ‘WPML’ ⮕ ‘Languages’ to change the default language and add or remove the translation language for the Flexia theme.
#
How to Set up Flexia With WPML? #
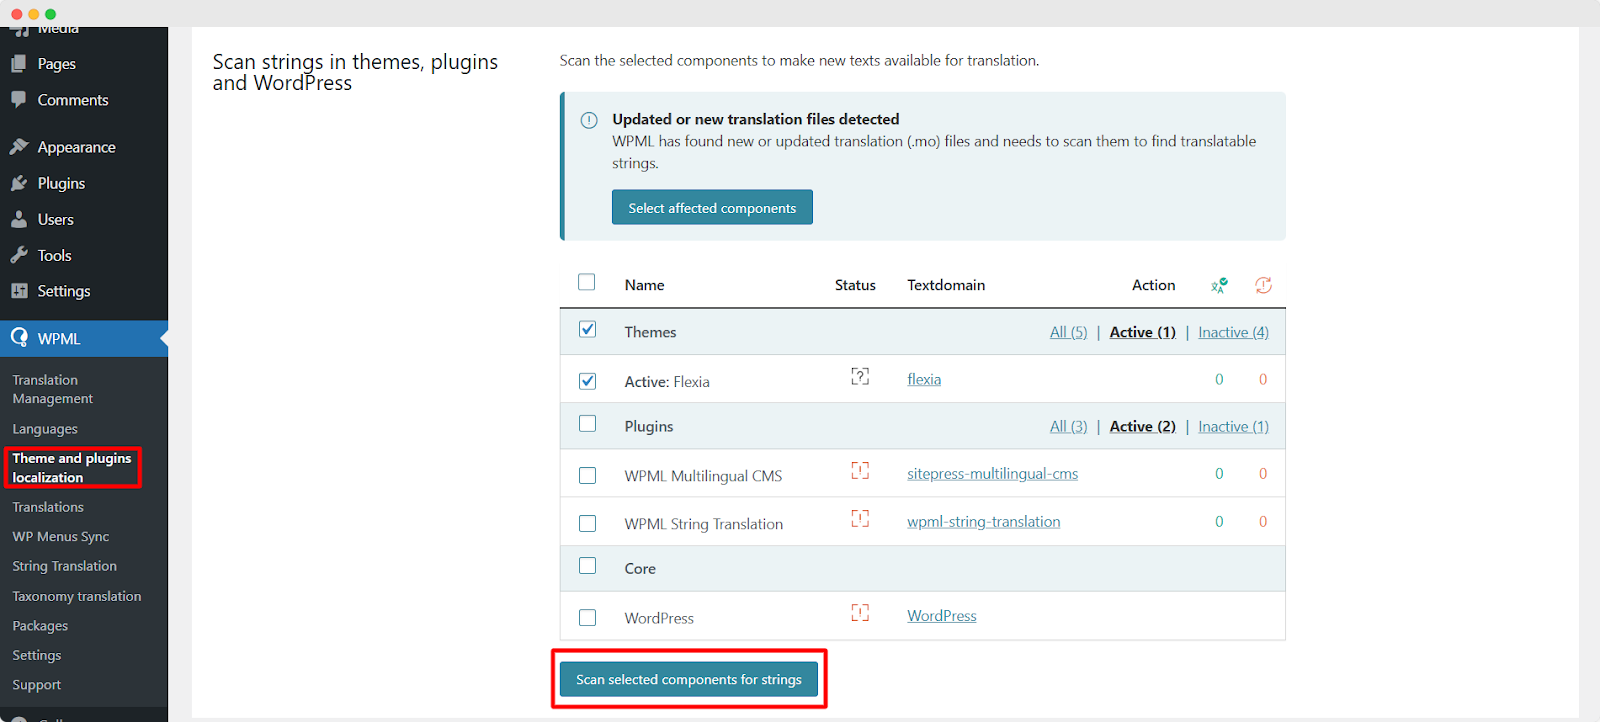
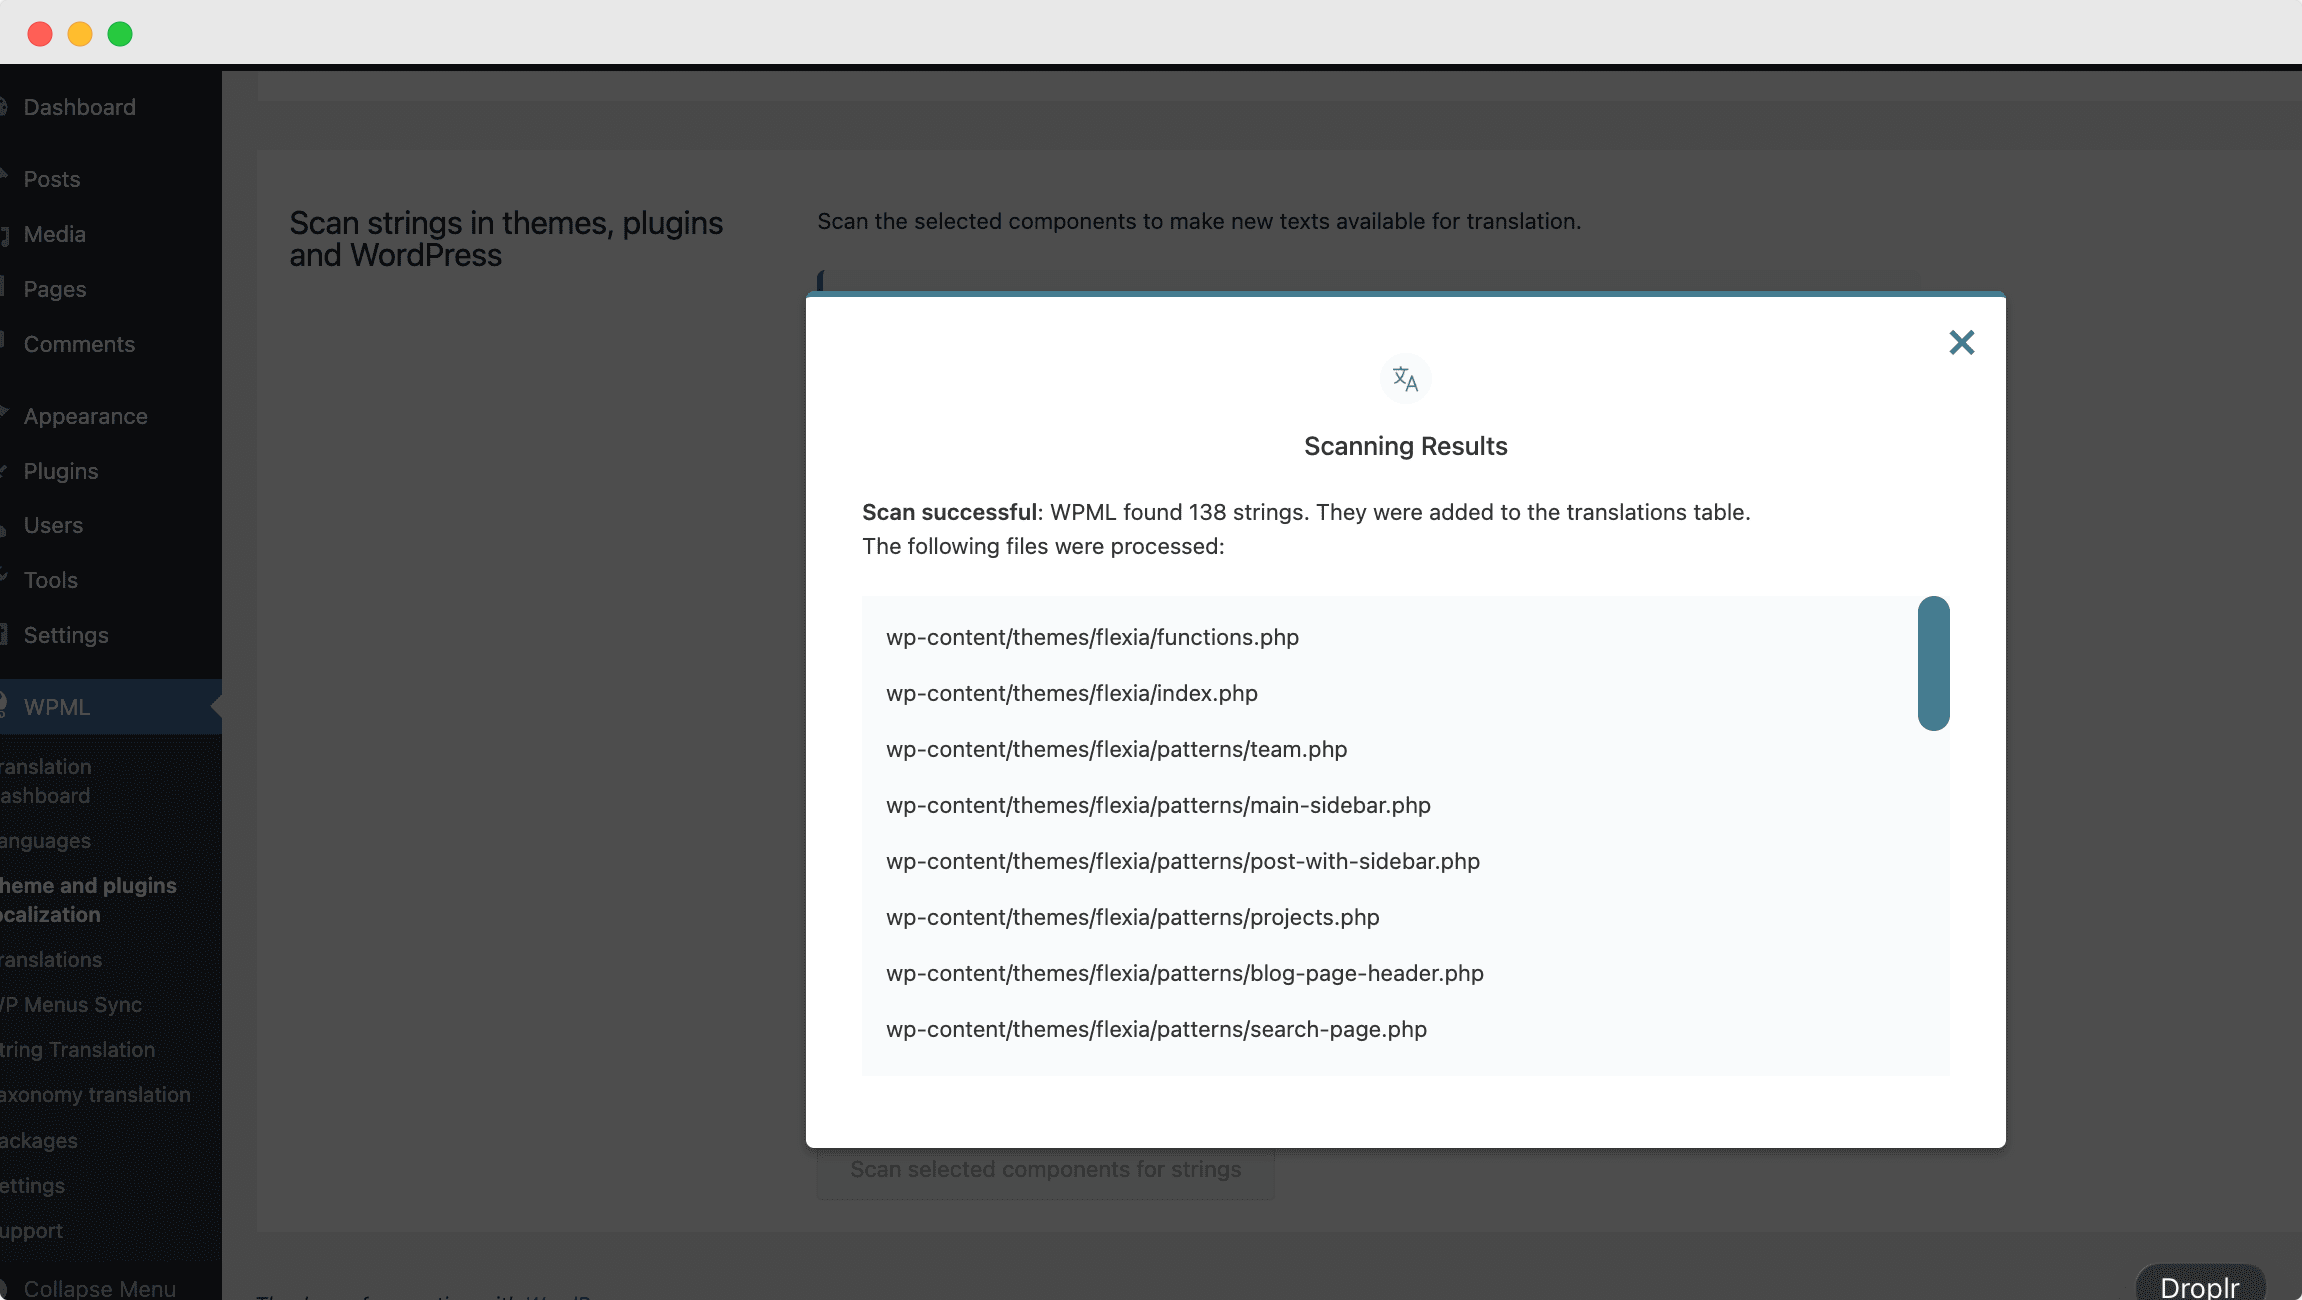
Afterward, navigate to ‘WPML‘ ⮕ ‘Theme & Plugins Localization‘ ⮕ ‘Scan strings in themes, plugins and WordPress’. Put a checkmark to select the ‘Flexia’ option. Next, just hit the ‘Scan selected components for strings’ button.
When WMPL finishes scanning all the strings, it will display a success pop-up with all the details. It will appear as follows.
How to Translate Flexia Theme Content? #
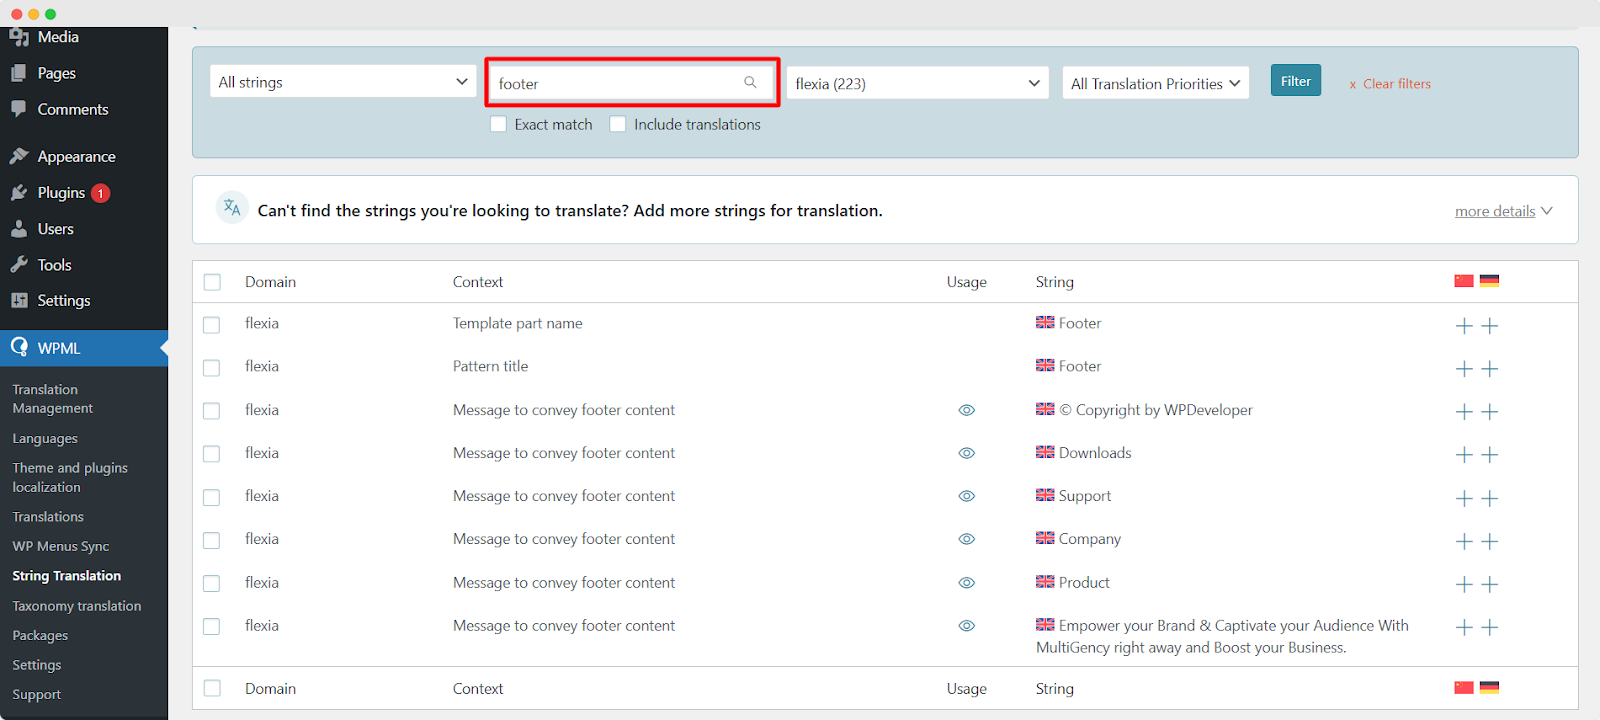
In a few moments, WPML will scan and showcase all translatable Flexia theme data in ‘WPML‘ ⮕ ‘String Translation‘. Choose the ‘Flexia’ option from the ‘Domain’ dropdown at the top.

Afterward, you can press the ’+’ sign on any of the available Flexia theme content for translation and start translating into your preferred languages.
If you want to translate your header text, you can find the corresponding options by looking for them using the search bar.

If you need to translate your footer text, you can follow the same process of using the search bar to find the corresponding options.
Final Outcome #
If you just make the changes following the above steps, you will then get the output like the image below:
How To Translate Blogs Category With WPML #
Flexia lets you translate the categories of your blogs into your preferred languages. Just navigate to ‘WPML’ ⮕ ‘Taxonomy translation’ and then select the ‘Categories’ option from the dropdown. Now, you can translate the category of your blogs into your desired languages.
Final Outcome #
If you just make the changes following the above steps, you will then get the output like the GIF below:
This is how you can easily translate Flexia theme with WPML in WordPress.
Got stuck? Feel free to contact our dedicated support team.


