Flexia offers flexible customization options and design settings, so you can design your page layouts, from headers, footers, and background images, and customize them as necessary. Follow this guide to learn how to customize design settings on Flexia.
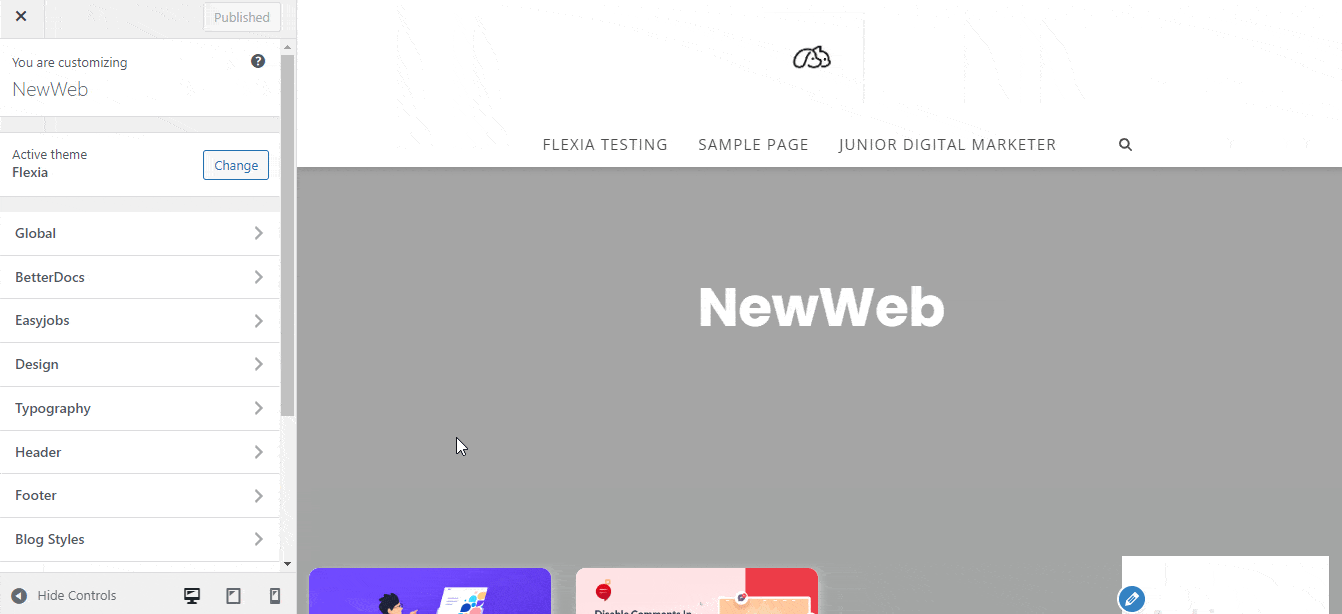
Step 1: Go To The Design Tab On Flexia #
To customize design settings on Flexia, open the ‘Design’ tab from Flexia’s ‘Header’ tab. Go to Appearance → Customize from your WordPress dashboard and choose the ‘Design’ tab.
[Note: You must install and activate the Flexia theme on your WordPress website before customizing design settings.]
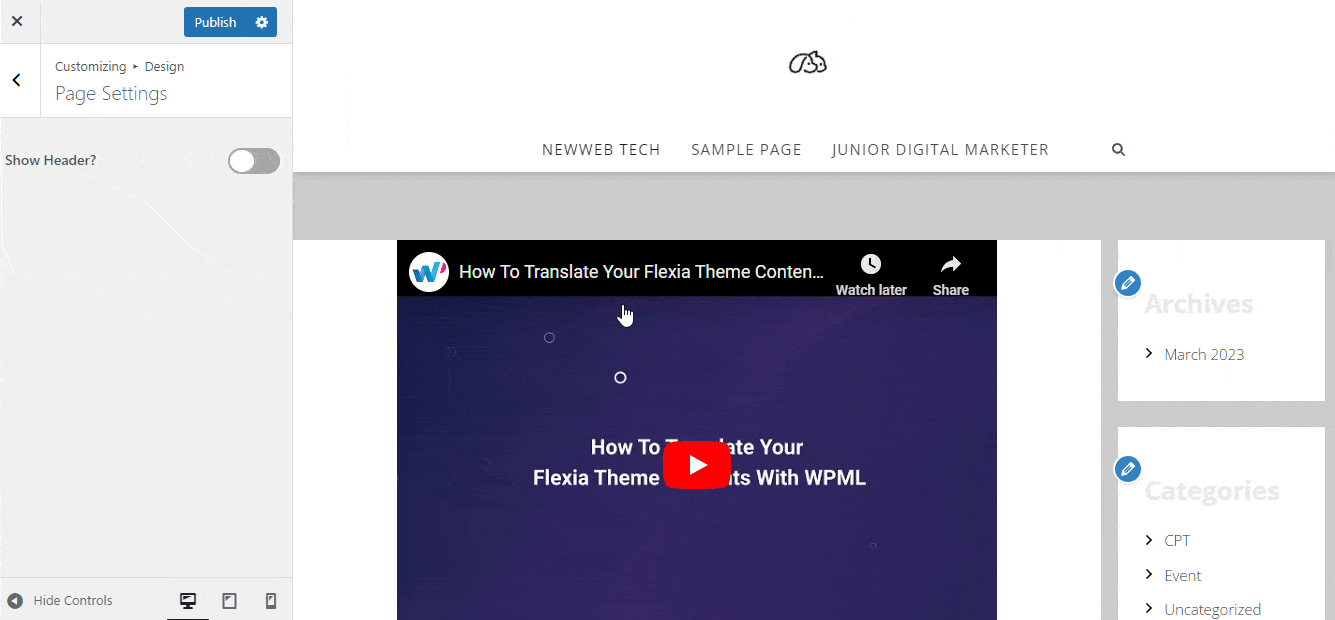
Step 2: Customize Page Settings #
Go to ‘Page Settings’ to customize your header, breadcrumb, title, and more as needed. You can choose to enable or disable the header or breadcrumb. Additionally, you can change the Size and Color of the page title and add gradient colors and Background Images.
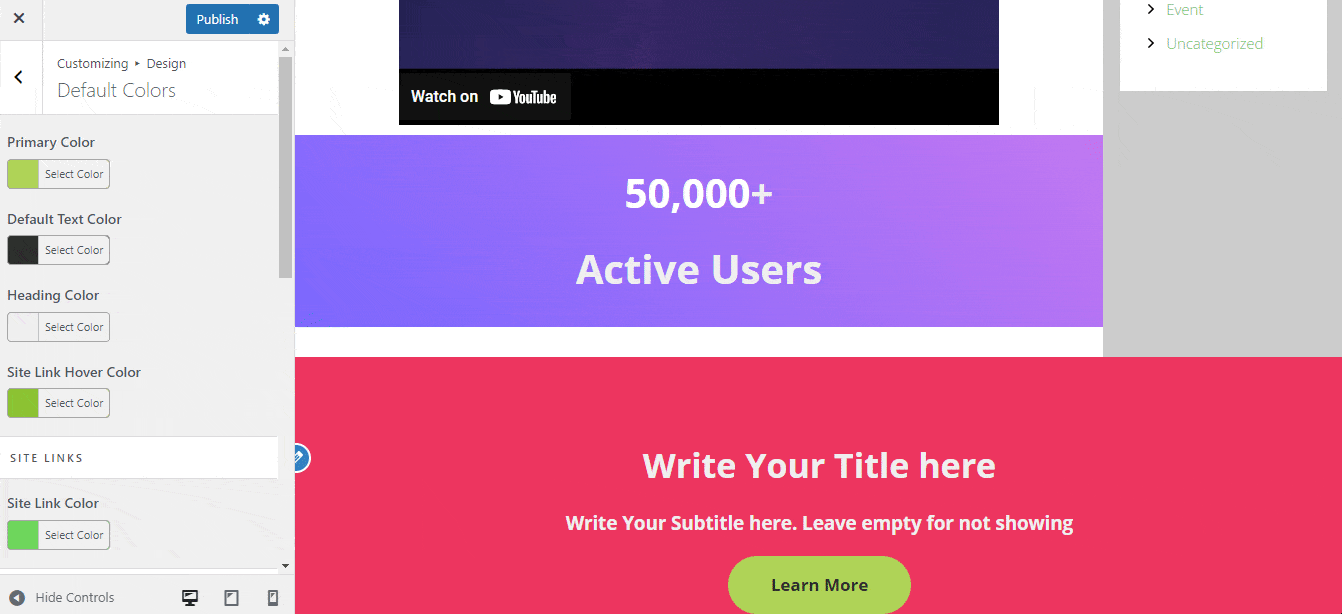
Step 3: Customize Default Colors #
On the Default Colors tab, you can make changes to different colors on the page, including the texts, titles, and backgrounds. You can also change the colors of the Page/Post content background for specific page selections. Plus, there is an option to change the sidebar widget background as well.
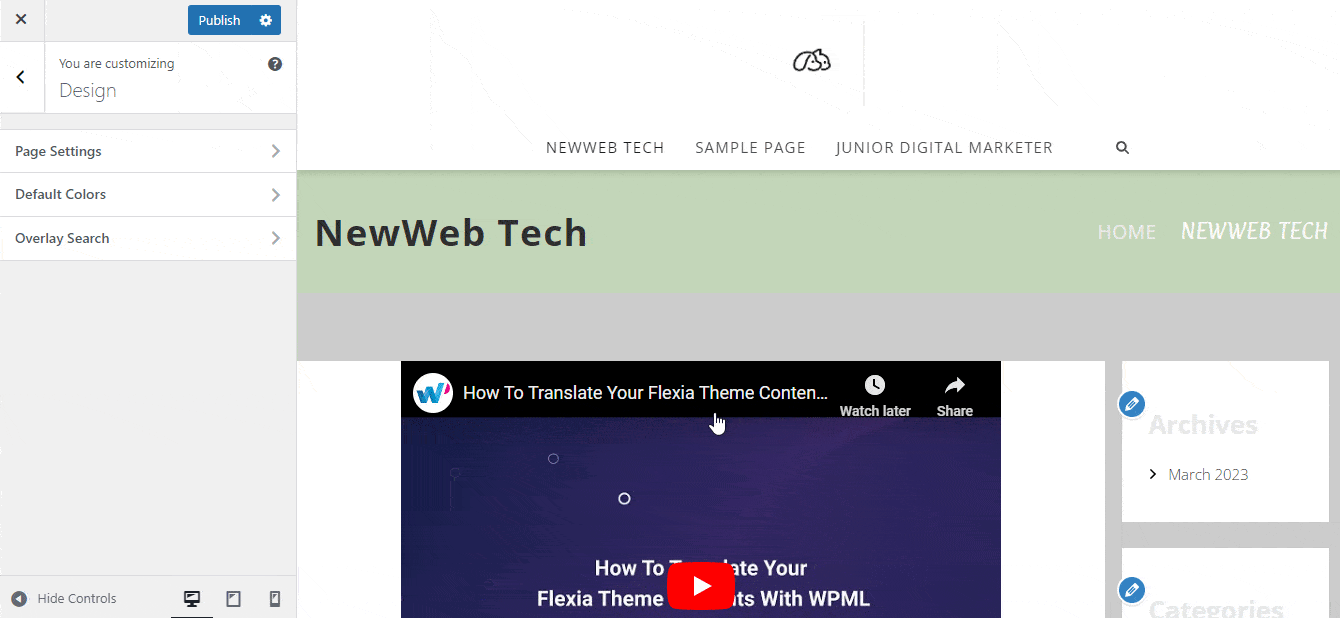
Step 3: Customize Overaly Search #
If you enable overlay search, you can choose to customize the ‘Overlay Search’ menu with multiple color options. Additionally, you can customize the search field and close button options.
Final Outcome #
Once you are done with all the customization options, hit the publish button. Now preview your customized page to see how it looks.
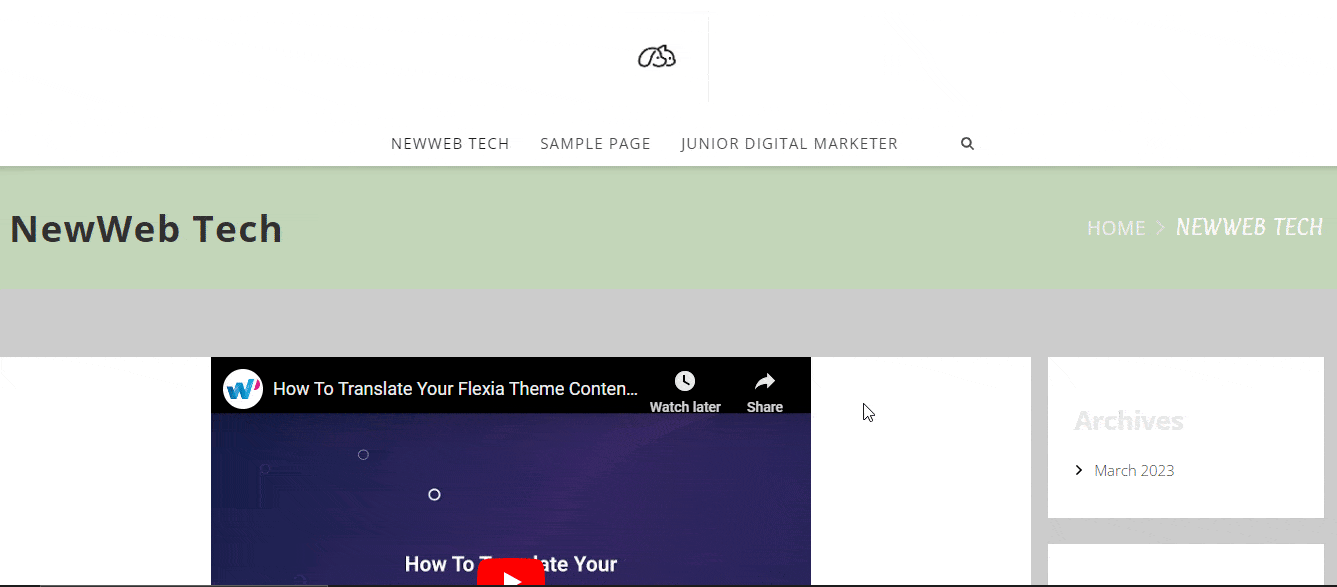
That’s how easily you can customize design settings on Flexia.
For any difficulties, feel free to contact our dedicated support team.


