By configuring header settings with Flexia you can improve your website navigation. You can control Topbar, Header Widgets, Navbar, Menu, etc. from here. In Flexia theme, you can configure header settings without any hassle.
How To Configure Flexia Theme Header Settings? #
If you want to configure the header settings of the Flexia theme, then follow this step-by-step guideline:
Step 1: Configure Header Settings From Appearance Tab #
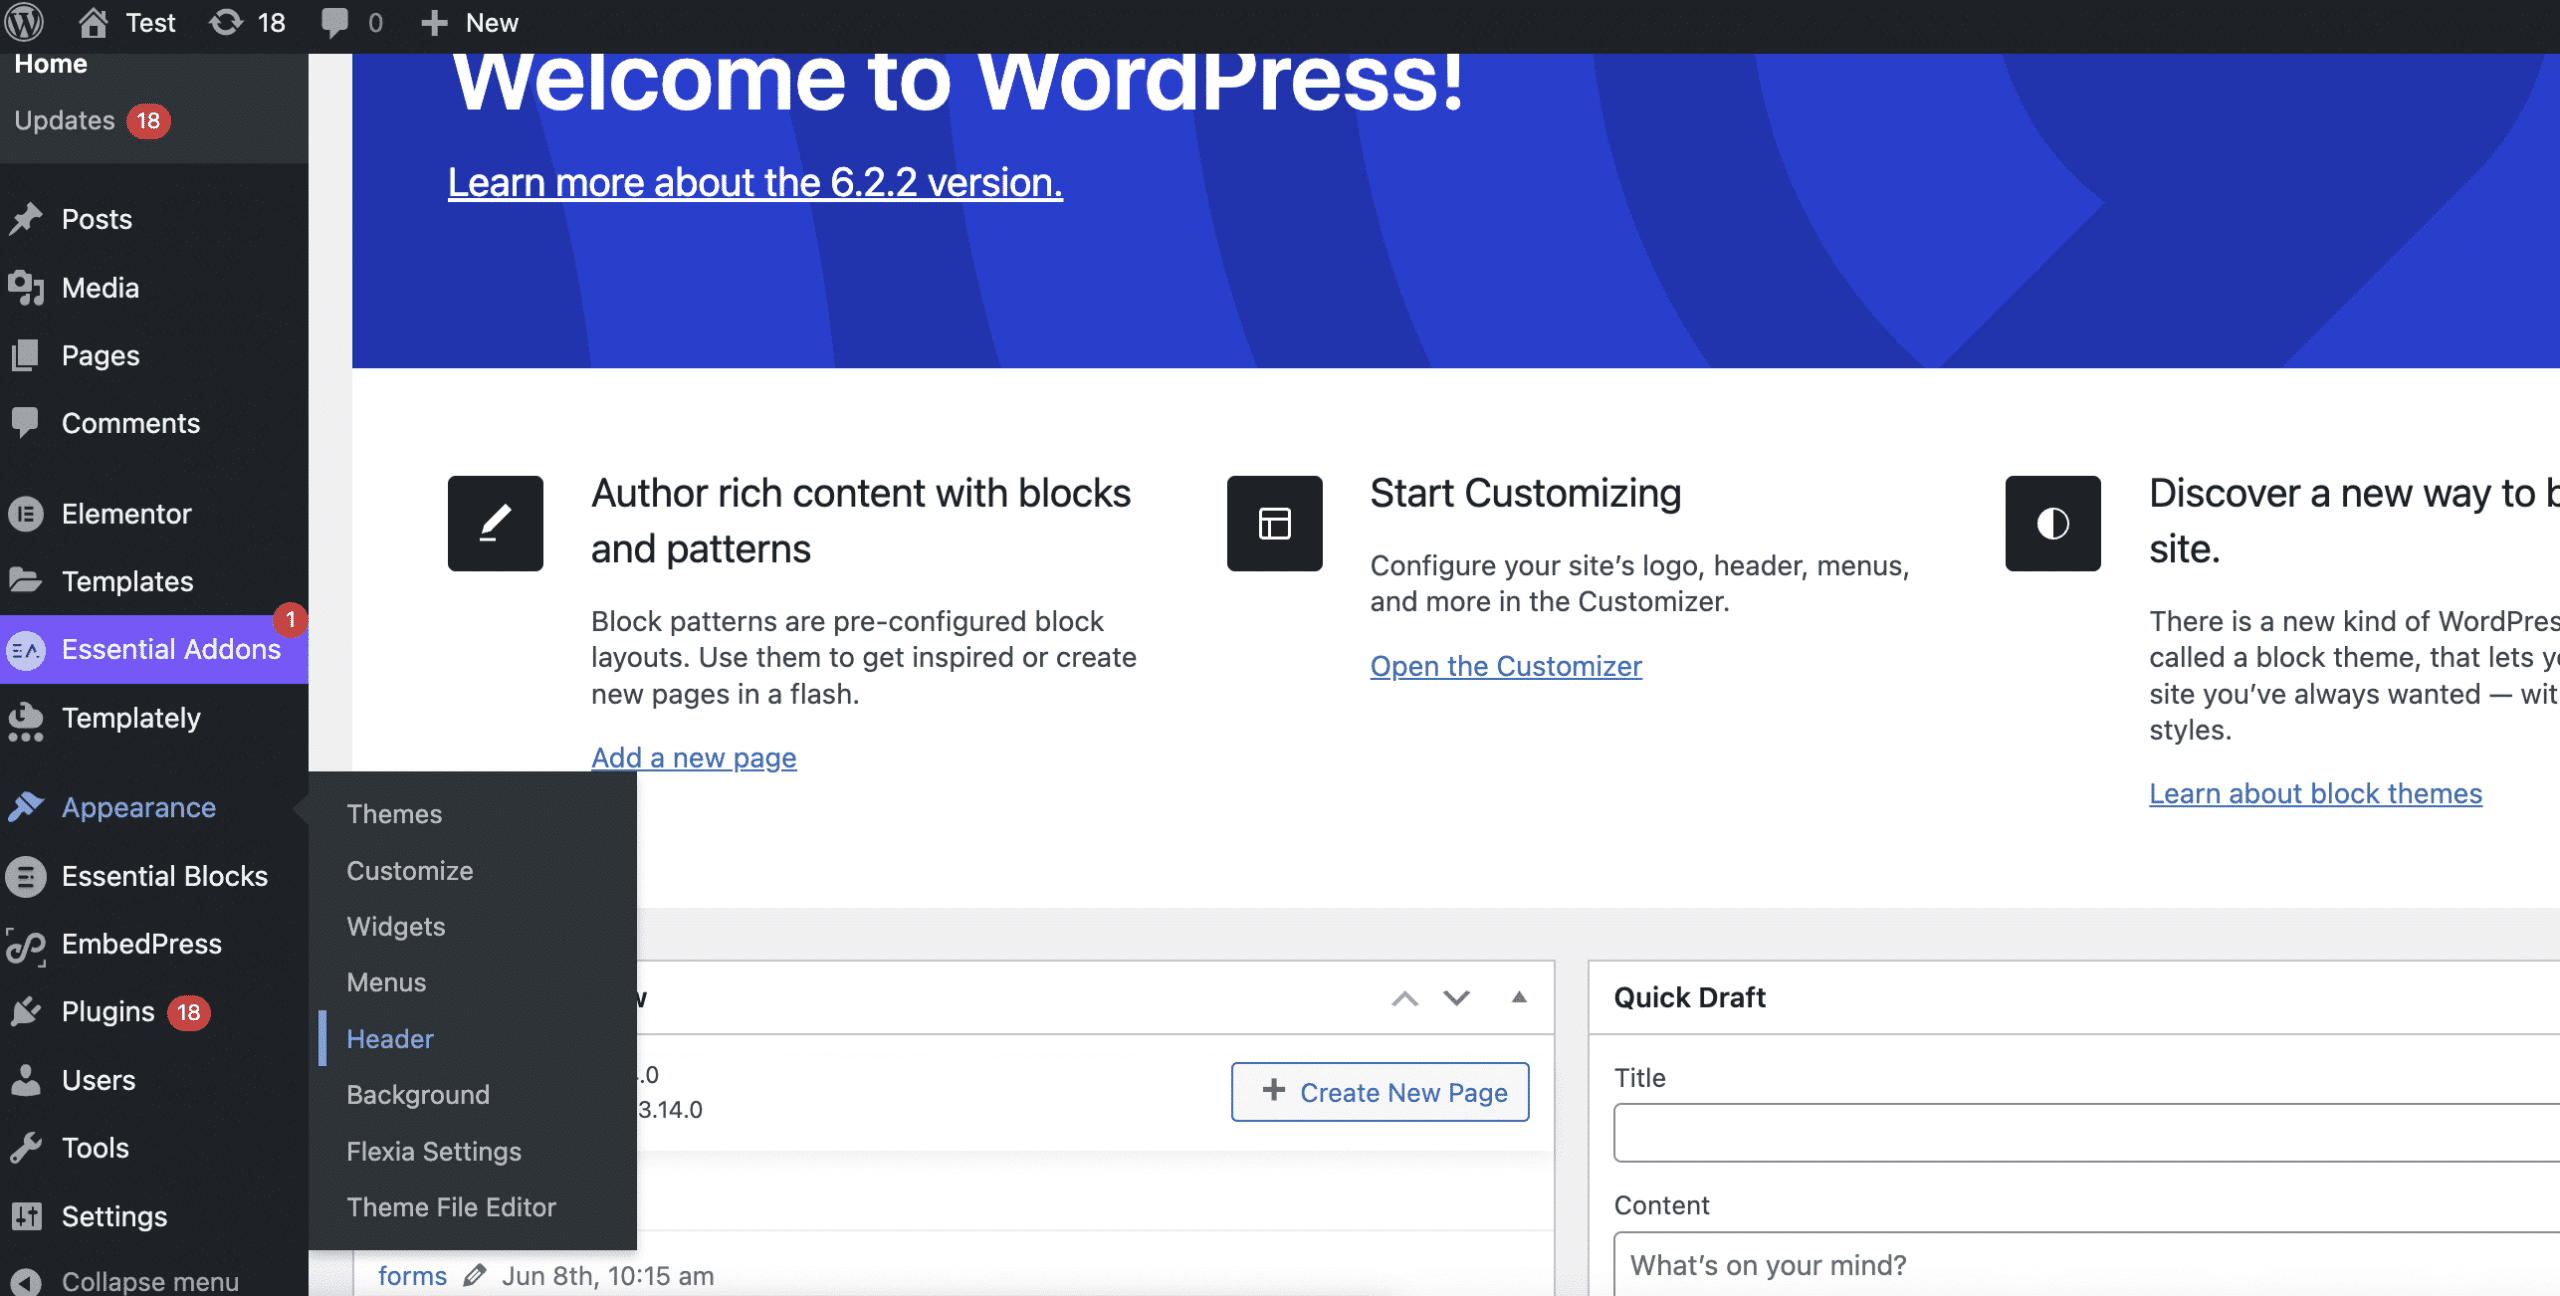
First, open your WordPress dashboard and go to the ‘Appearance’ → ‘Header’ tab. It will directly take you customizer. From there you can easily configure header settings. Let’s check out how you can update header following this below steps.
Layout Settings: #
From here you can update the header into Full Width or Boxed/ Container. Also, you can make the Navbar position Default Rop, Sticky Top, Transparent Sticky Top & Transparent default top. How the menu pages and site logo will appear, select from available Header Styles presets. You can also set responsive appearance from Header Styles Mobile presets. You will get PRO presets here. To avail them, you have to get Flexia PRO.

Navbar Settings: #
To customize Navbar, first toggle to enable ‘Nabvar’ from NAVBAR SETTINGS. Then all customization options will appear. You can customize the ‘Navbar Background Color’ from here. Also, customize the navbar padding from here.
From PRIMARY MENU SETTINGS, you can enable search menu, cart menuDropdown links color (if you have set up WooCommerce) and login button. If you enable the login buttion, then you will find the option to update Custom Login Text and Custom Logout Text. Also, you can include the login page URL here. Then update Links color, Links hover color, Links hover background, Dropdown background, Dropdown links color, Dropdown links hover color, Dropdown links hover background, one after one. You can add Dropdown animation from this section.
If you want to add more widgets in the header, then toggle to enable Widget Area from HEADER WIDGET AREA. Also, customize the Header Widget Area Background from here.
Top Bar Settings: #
You can enable an additional Topbar for your site to show certain information. It’s helpful if you want to show a temporary notice or promotional offers, no need for an extra plugin for that.
You can also enable Topbar Menu that supports dropdown and which is responsive for mobile. You can also set social icons as menu item to link to your social profiles. You can update each and every sections active color, hover color, background color, etc.

Social Media Settings: #
Another practise is include social media profiles into header. With Flexia Header Settings, you can do it too. Toggle to enable ‘Header Social Media’. There you will find all options to add social profiles, customize positions and so on.
You can set social icons positions into topbar or main header. Set the social icons alignment from here as well. You can adjust the social media icon color, size, etc smoothly and decide wheather to open links in the same tab or different one.
As many social media links you will provide, that much icons will be displayed in the header. With Flexia, you can display Facebook, Instagram, LinkedIn, Twitter, YouTube, RSS feed, Reddit, etc.
Final Outcome #
Click on the ‘Publish’ button after configuring the menu settings. This is how your website will look with a customized header.
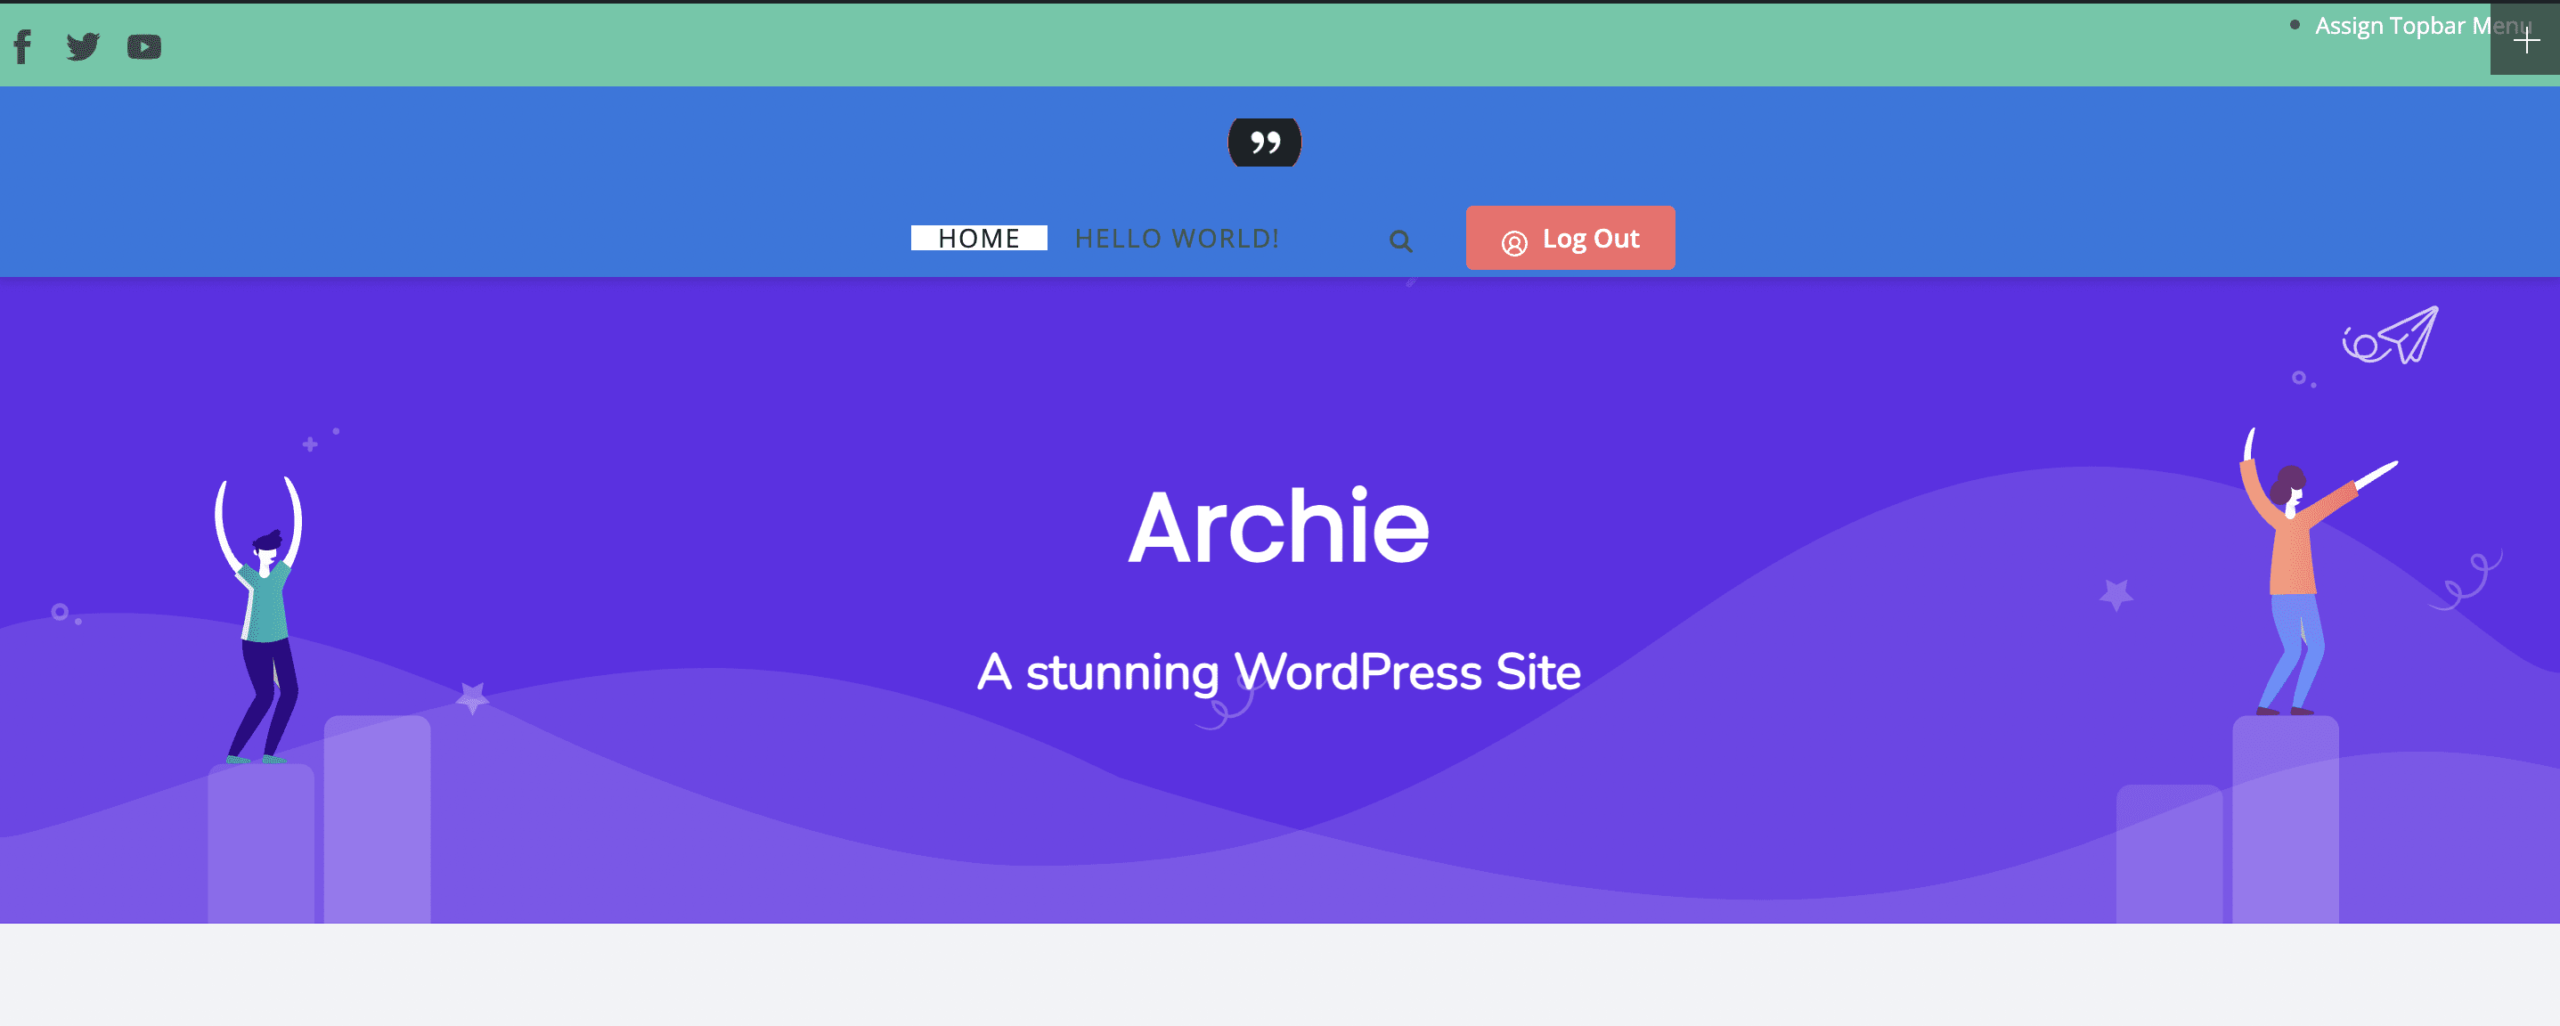
This is how easily you configure Flexia theme menu settings in your WordPress website.
Get stuck? Feel free to contact our dedicated support team.


