By configuring Flexia theme menu settings, you can boost your website user experience. The menu is the constant place of a website from where visitors can easily navigate to all website pages & posts. In Flexia theme, you can configure menu settings without any hassle.
How To Configure Flexia Theme Menu Settings? #
Flexia theme provides two methods for configuring menu settings: the Menu tab and the Customizer. If you want to configure menu settings of the Flexia theme, then follow this step-by-step guideline:
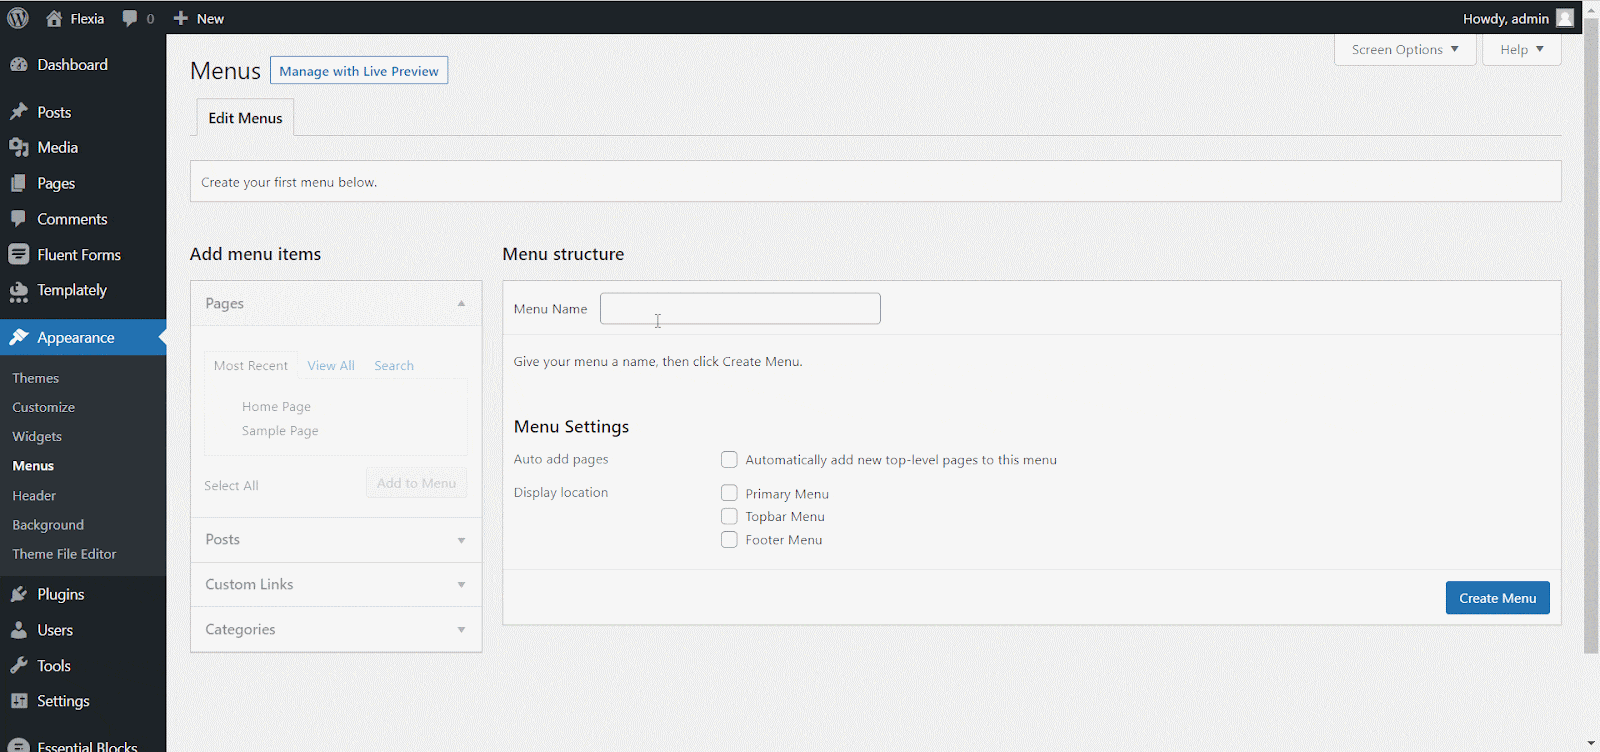
Step 1: Configure Menu Settings From Menu Tab #
First, open your WordPress dashboard and go to the ‘Appearance’ → ‘Menus’ tab. Provide a suitable name for the menu in the ‘Menu Name’ field, and select the location for the menu from the ‘Menu Settings’ section.
Available menu locations are Primary menu, Topbar Menu, and Footer Menu. if you want to add all newly created pages on your menu bar, then tick on the ‘Auto Add Pages’ field. After that click on the ‘Create Menu’ to save the menu.
Primary Menu :
Primary Menu will be shown on your Navbar which is the main navigation. It supports dropdown and is responsive for mobile. It switches to a mobile menu under 768px screen resolution.
Topbar Menu :
Topbar Menu will be shown on your Topbar that you can enable from Customize → Header. It is optional navigation; you can disable the menu separately from Topbar if you want. It also supports dropdown and is responsive for mobile. It switches to a mobile menu under 768px screen resolution.
Footer Menu :
Footer Menu will be shown on your Footer that you can enable from Customize → Footer. It is optional navigation you can disable the menu separately from Footer if you want. It doesn’t support dropdown but is responsive for mobile. Note that it won’t be a toggle for mobiles like Primary or Topbar menus rather will be inline yet responsive for mobile.
You can also set menus within any widget on any widget area (Sidebar Widgets, Header Widgets, or Footer Widgets).
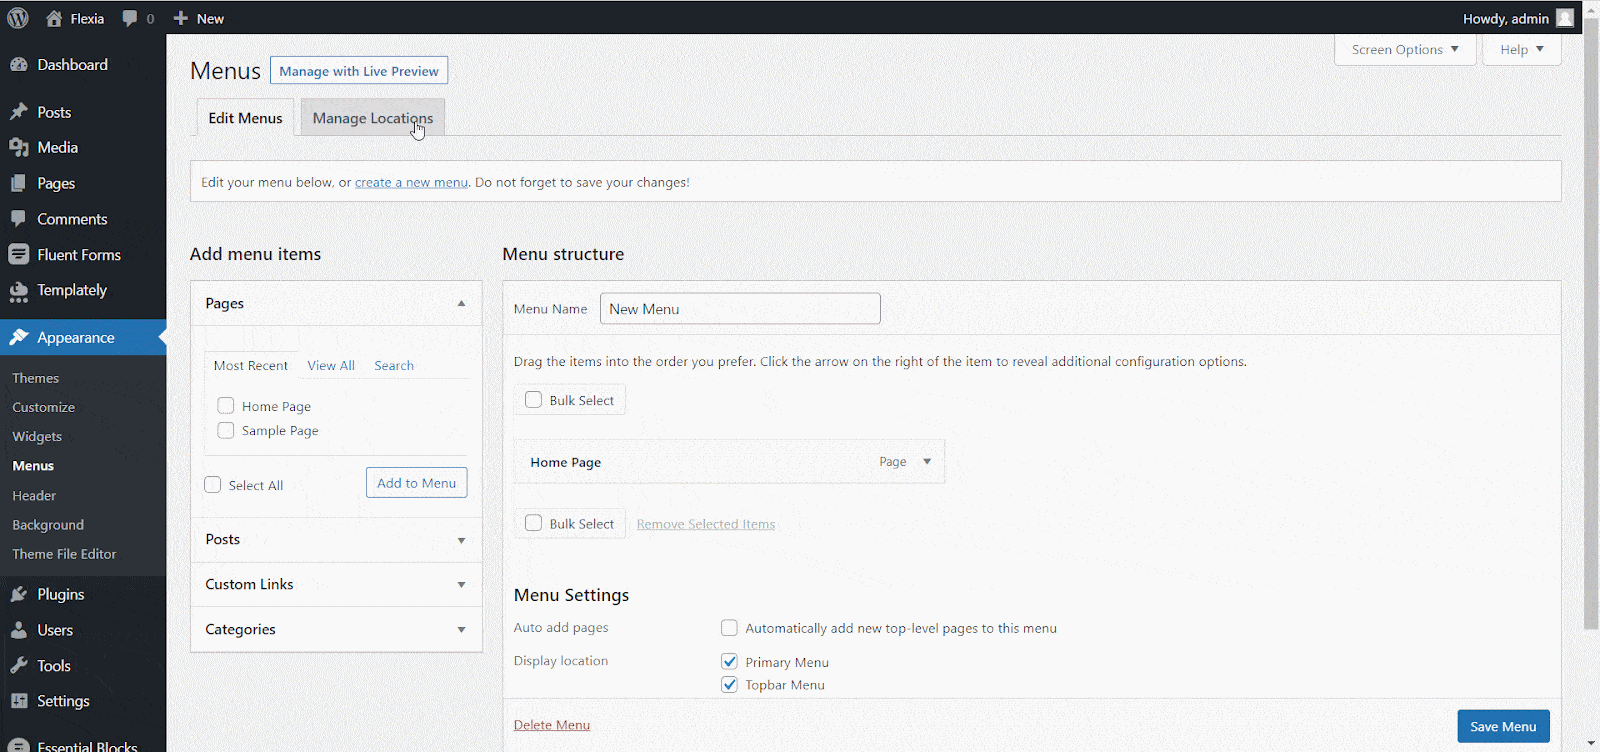
Step 2: Create Your Menu In WordPress #
From Pages tab, select the pages you want to add to your menu, and click on the ‘Add To Menu’ button. After that, click on the ‘Save Menu’ button to save changes. In the same way, you can add pages, custom links, and categories in the menu bar. Simply by dragging you can reorder the positions on the menu bar.

Step 3: Set Menu Display Location #
Now time to set the menu display location. Navigate to ‘Manage Locations’ tab. From there select which menu will be shown in the Primary Menu, Topbar Menu, and Footer Menu. Then click on the ‘Save Changes’ button. Hence, menu settings can be easily configured.
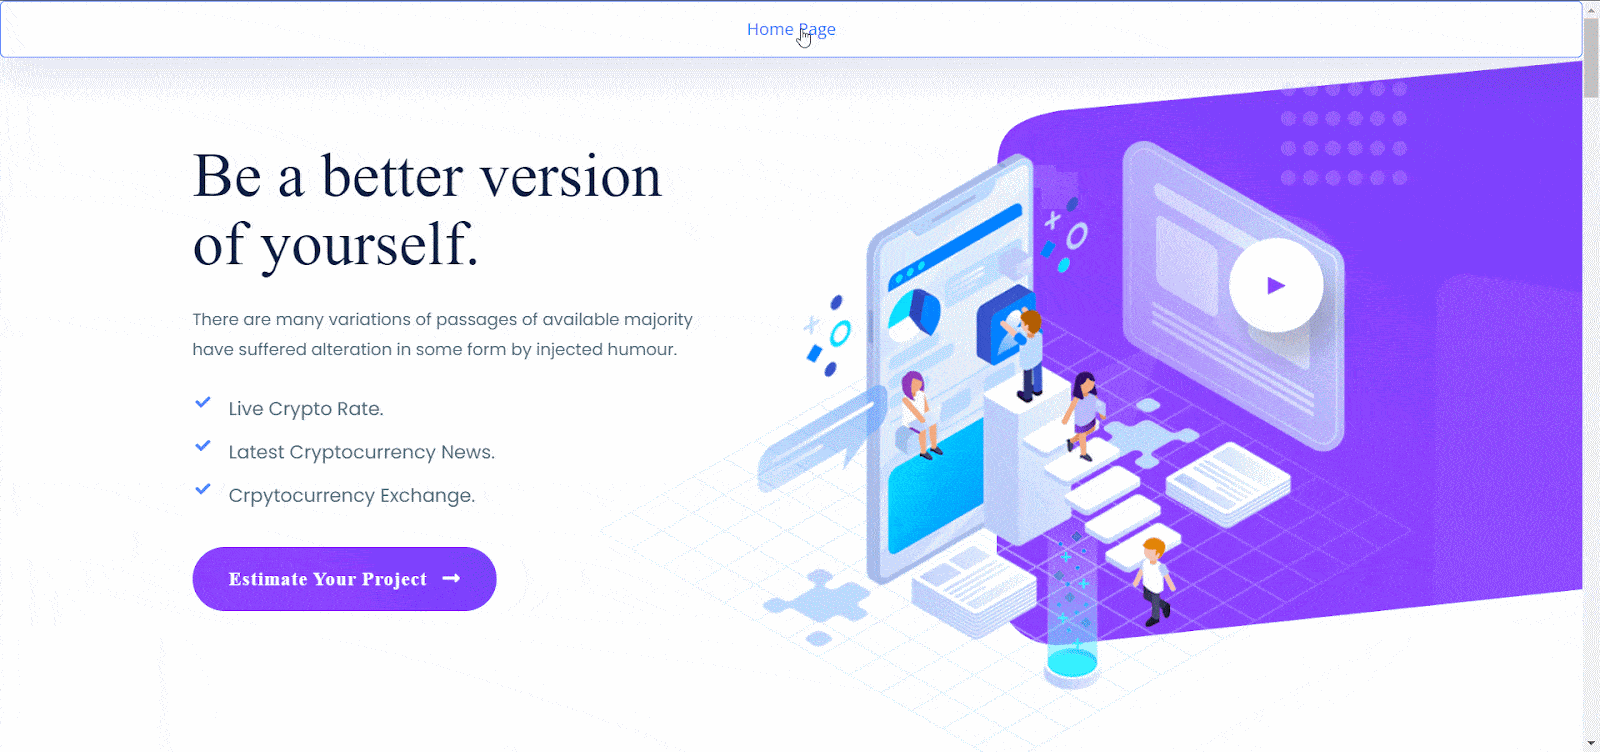
Final Outcome #
Go to your live site to check out the changes you made. This is how your website will look with a menu bar.
How To Configure Flexia Theme Menu Settings From Customizer? #
If you want to configure the menu settings of Flexia theme from Customize panel, then follow this step-by-step guideline:
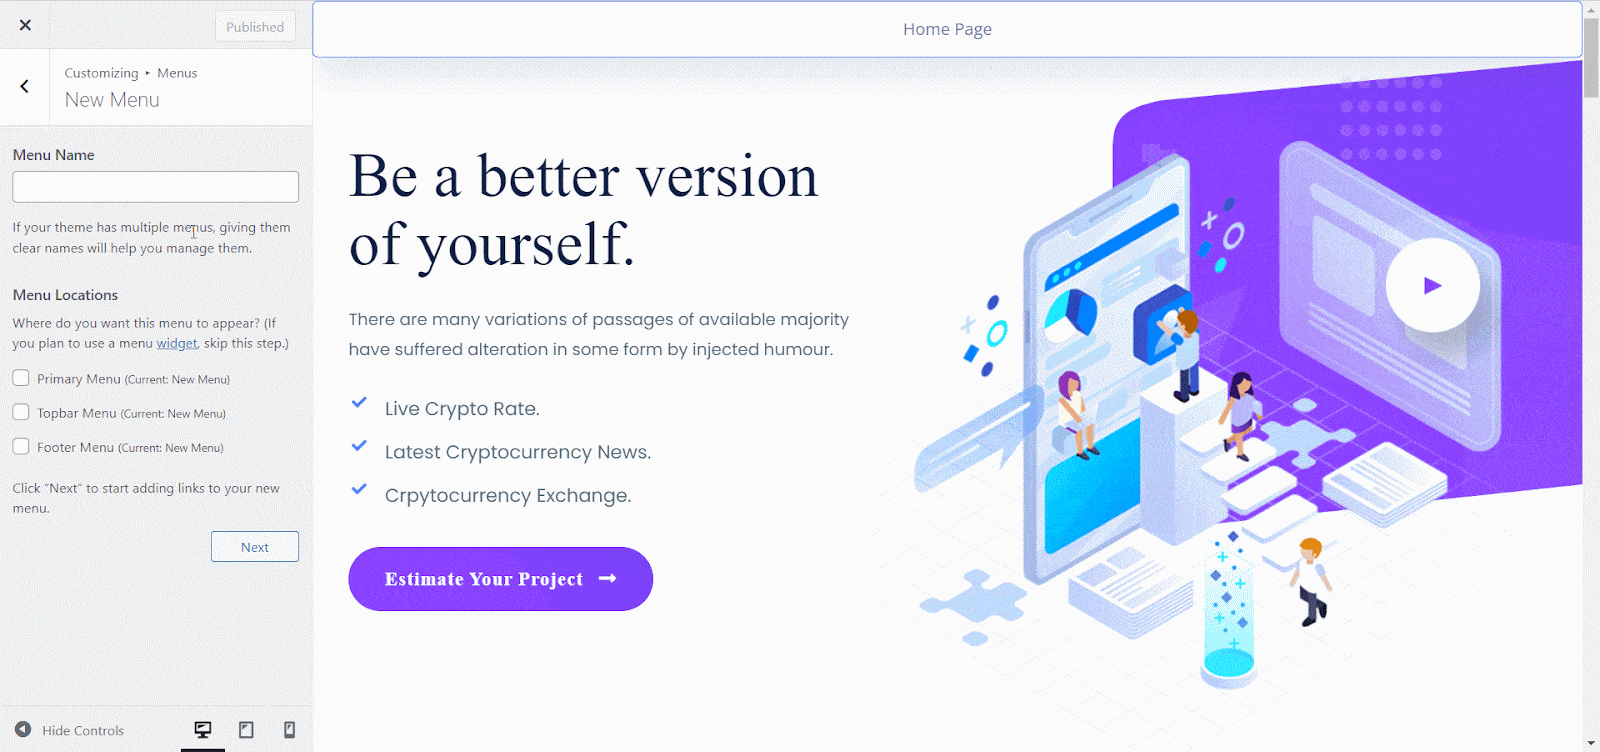
Step 1: Directly Create Your Menu From Customize #
Open your WordPress dashboard and go to the ‘Appearance’ panel. Then click on the ‘customize’ tab. It will directly take you to the live customize editor panel. From the left panel, go to the ‘Menu’ tab. There you will find the button ‘Create New Menu’, click on it.

Step 2: Set Your Menu Display Location #
Provide a suitable name for the menu in the ‘Menu Name’ field, and select the display location (Primary, Topbar, and Footer). After that click on the ‘Next’ to start adding links to your new menu.
Step 3: Include Or Exclude Sections From The Menu #
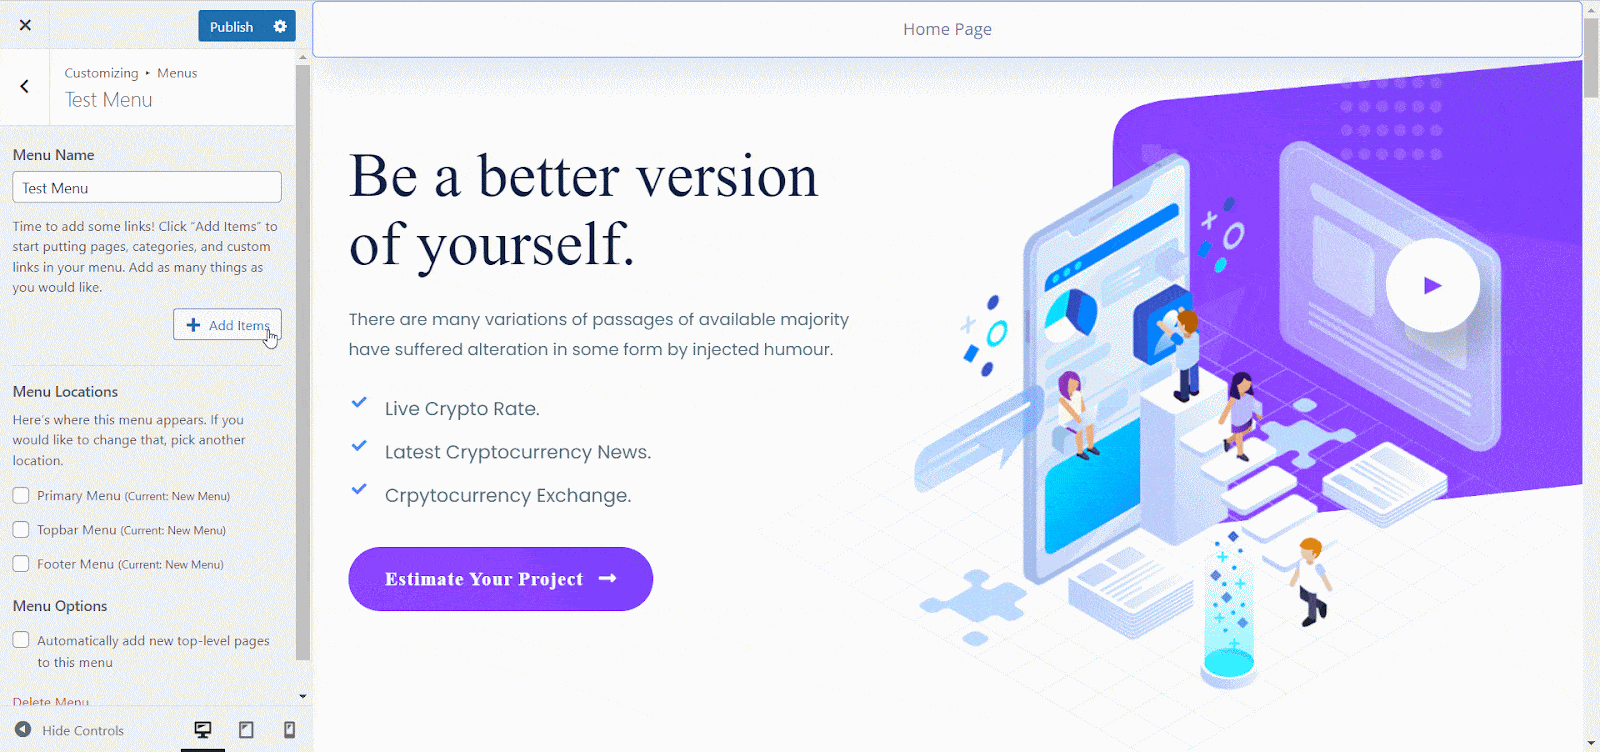
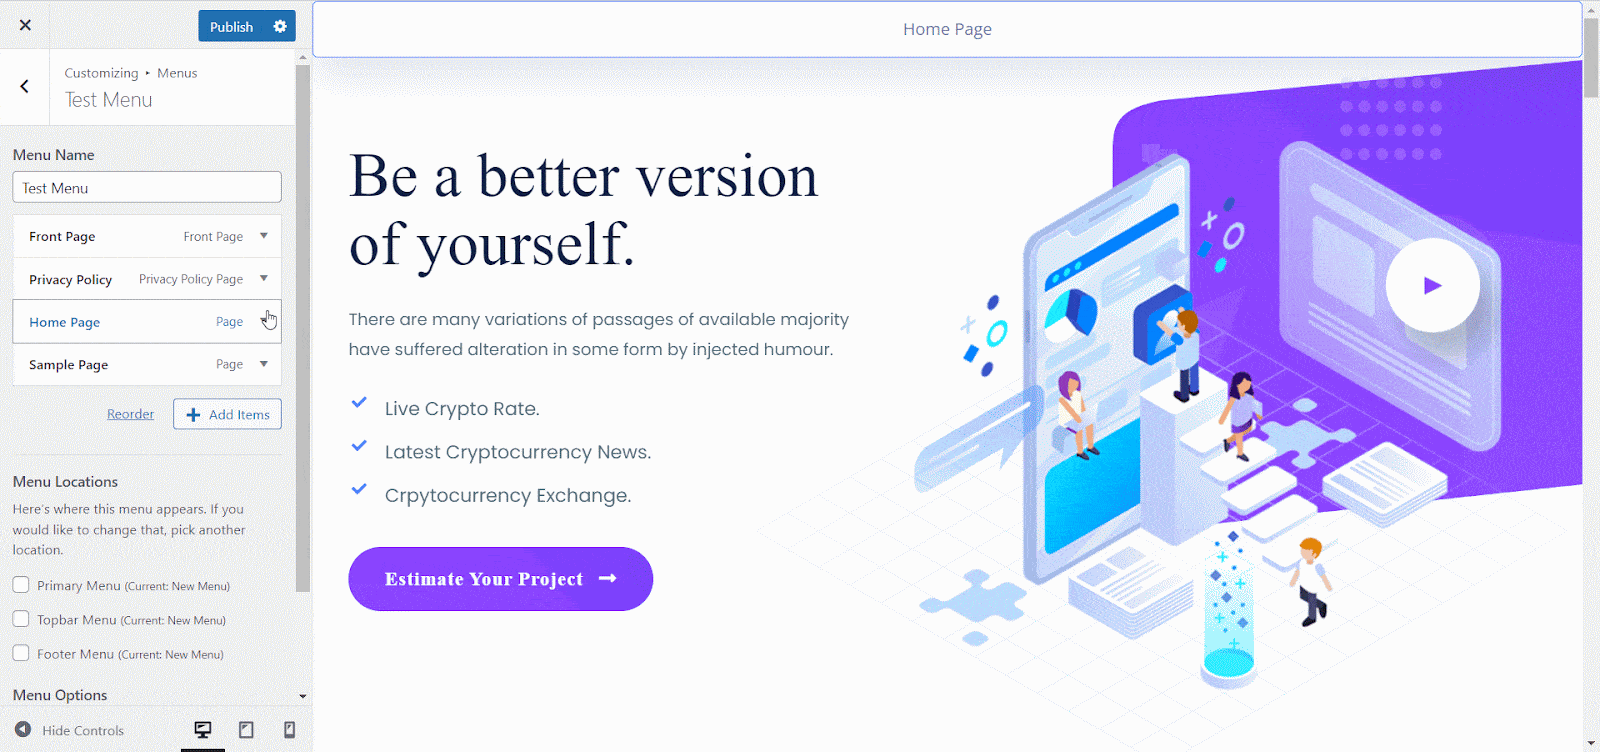
Click ‘Add Items’ to start putting pages, categories, and custom links in your menu. Add as many things as you’d like. You can also reorder the positions by clicking on the ‘Reorder’ button. From ‘Menu Options’ give a tick if you want to auto-add all newly created pages on the menu.
You can also reorder the positions by clicking on the ‘Reorder’ button. Set the preferred positions, and after making all the changes, click on the ‘Done’ button.
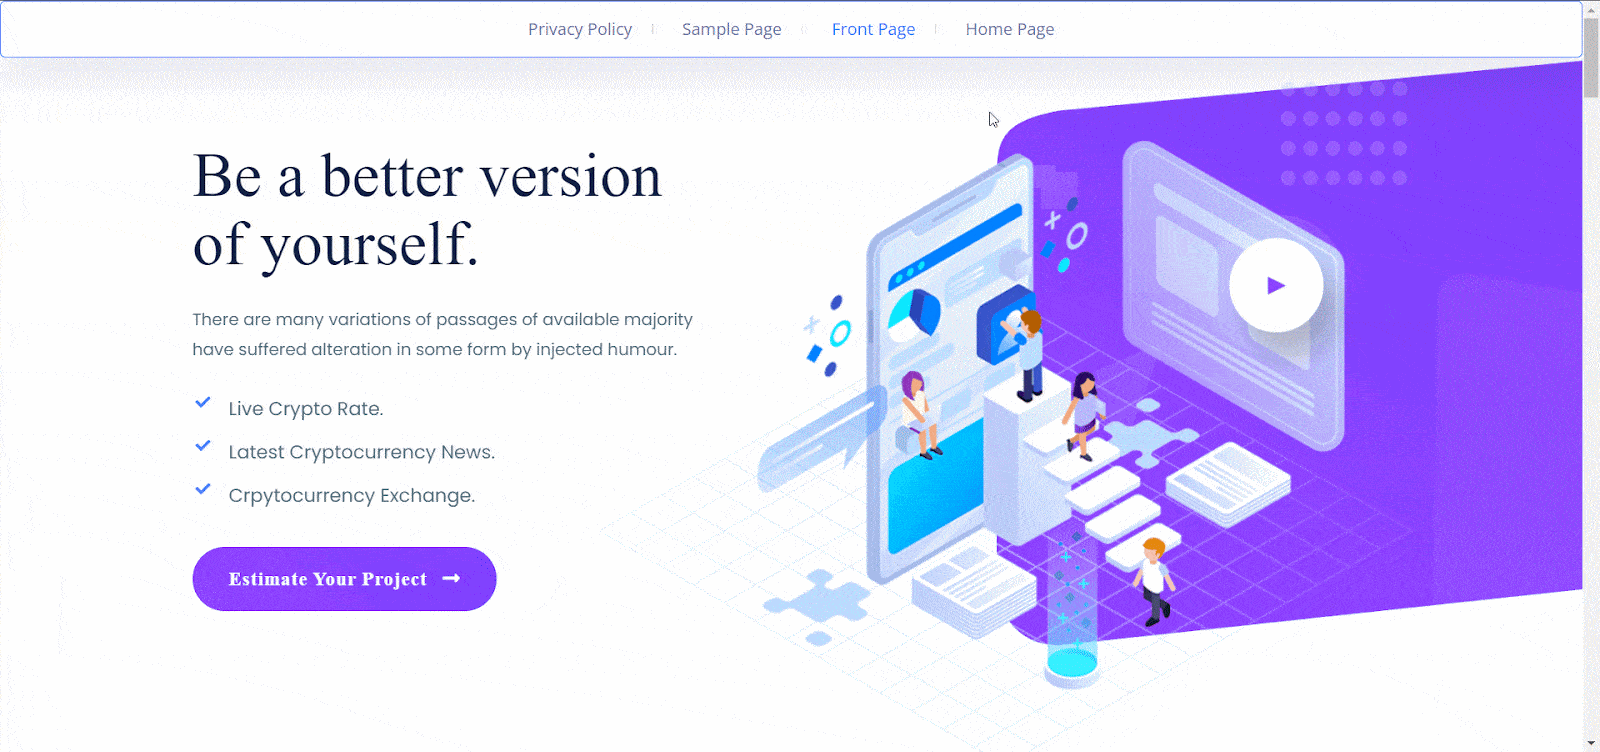
Final Outcome #
Click on the ‘Publish’ button after configuring the menu settings. This is how your website will look with a menu bar.
This is how easily you configure Flexia theme menu settings in your WordPress website.
Get stuck? Feel free to contact our dedicated support team.


