Fexia Theme widgets settings give a customized appearance which makes creating websites for any category a lot easier. These theme widgets help you to add multiple functionalities to your WordPress website. By customizing them you can give your website a new appearance as well. There are 10 theme widgets available in Flexia.
How To Configure Flexia Theme Widgets Settings? #
If you want to configure Flexia theme widgets, then follow this step-by-step guideline:
Step 1: Navigate To Flexia Theme Widgets #
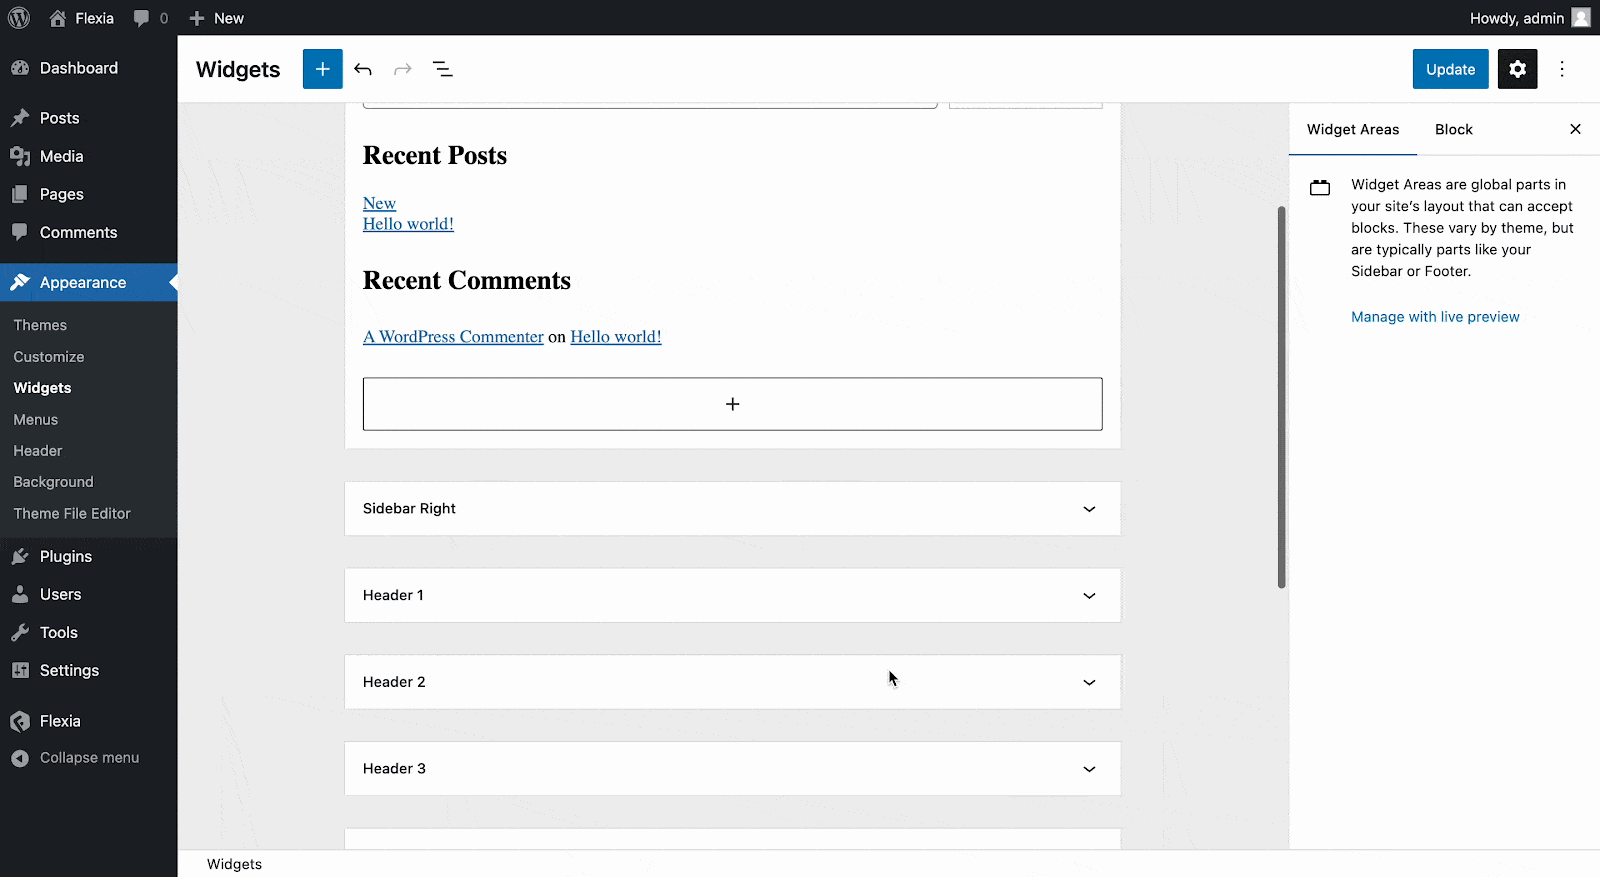
First, open your WordPress dashboard and go to the ‘Appearance’ panel. Then click on the ‘Widgets’ tab. There you will find all the available widgets of Flexia. Also, you can navigate to widgets from Appearance → Customize → Widgets. Currently, there are 10 widget areas available withFlexia theme. These include 2 sidebar widgets, 4 header widgets, and 4 footer widgets.
Step 2: Add Blocks In The Widgets #
Click on a widget you want to configure. In the drop-down, you will find the ‘+’ icon, click it to add blocks. You will see a new pop-up window appear. From there select the block you want to add in the widgets area, and it will be instantly added.
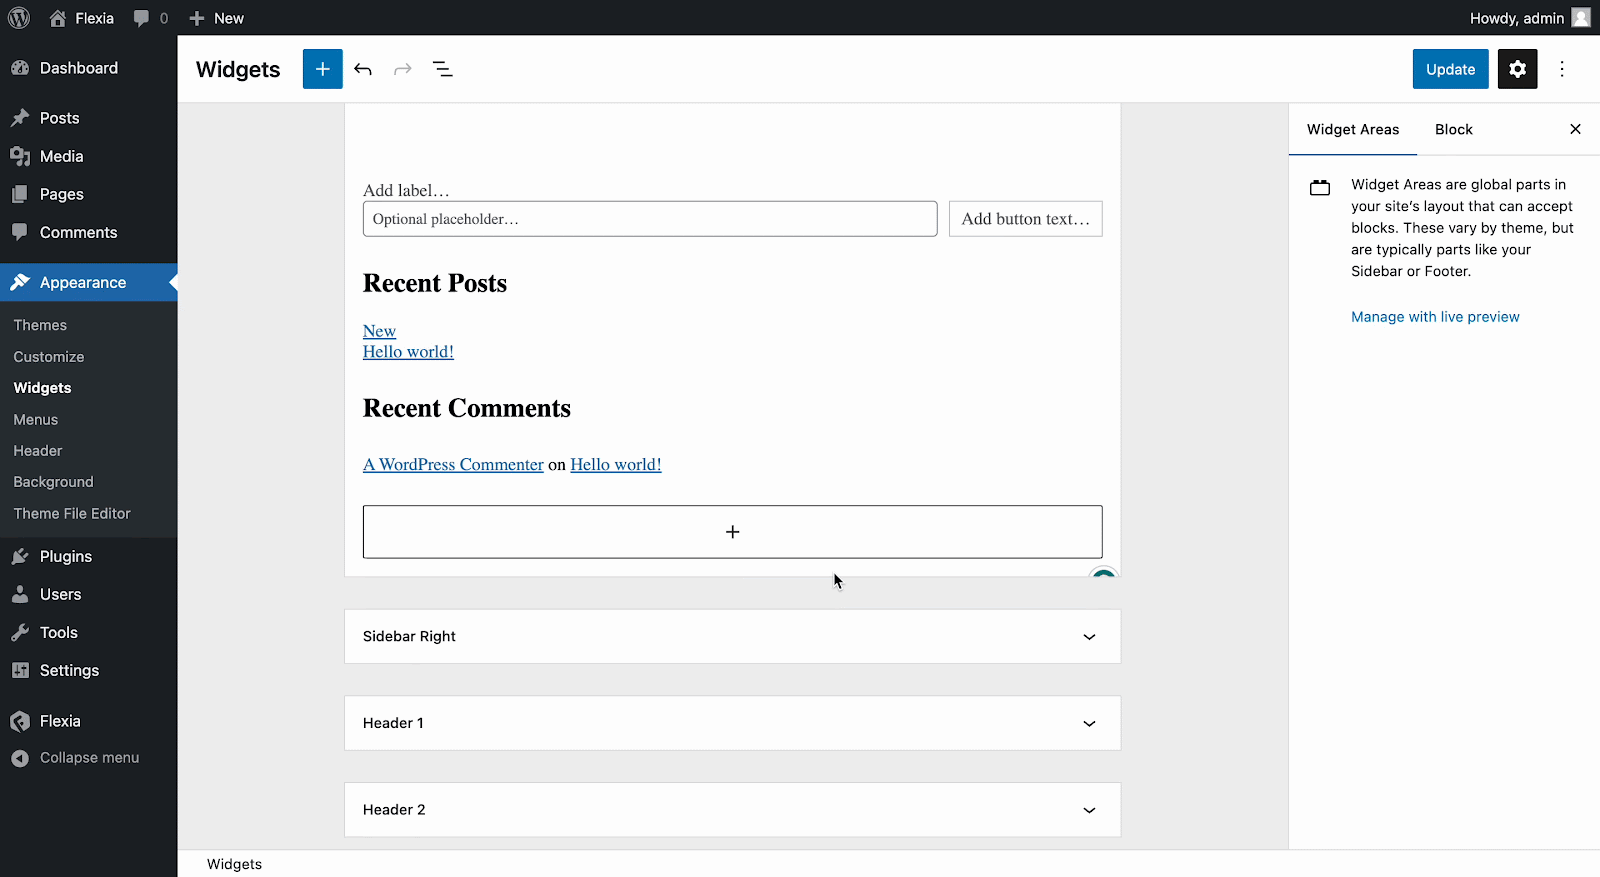
Now add blocks under all widgets one by one in the same process and customize them. You can add multiple blocks under the same widget as well.

Final Outcome #
After making all the changes, click on the ‘Update’ button from the top-right corner. Then go to the website and check out how your website’s appearance turns out.
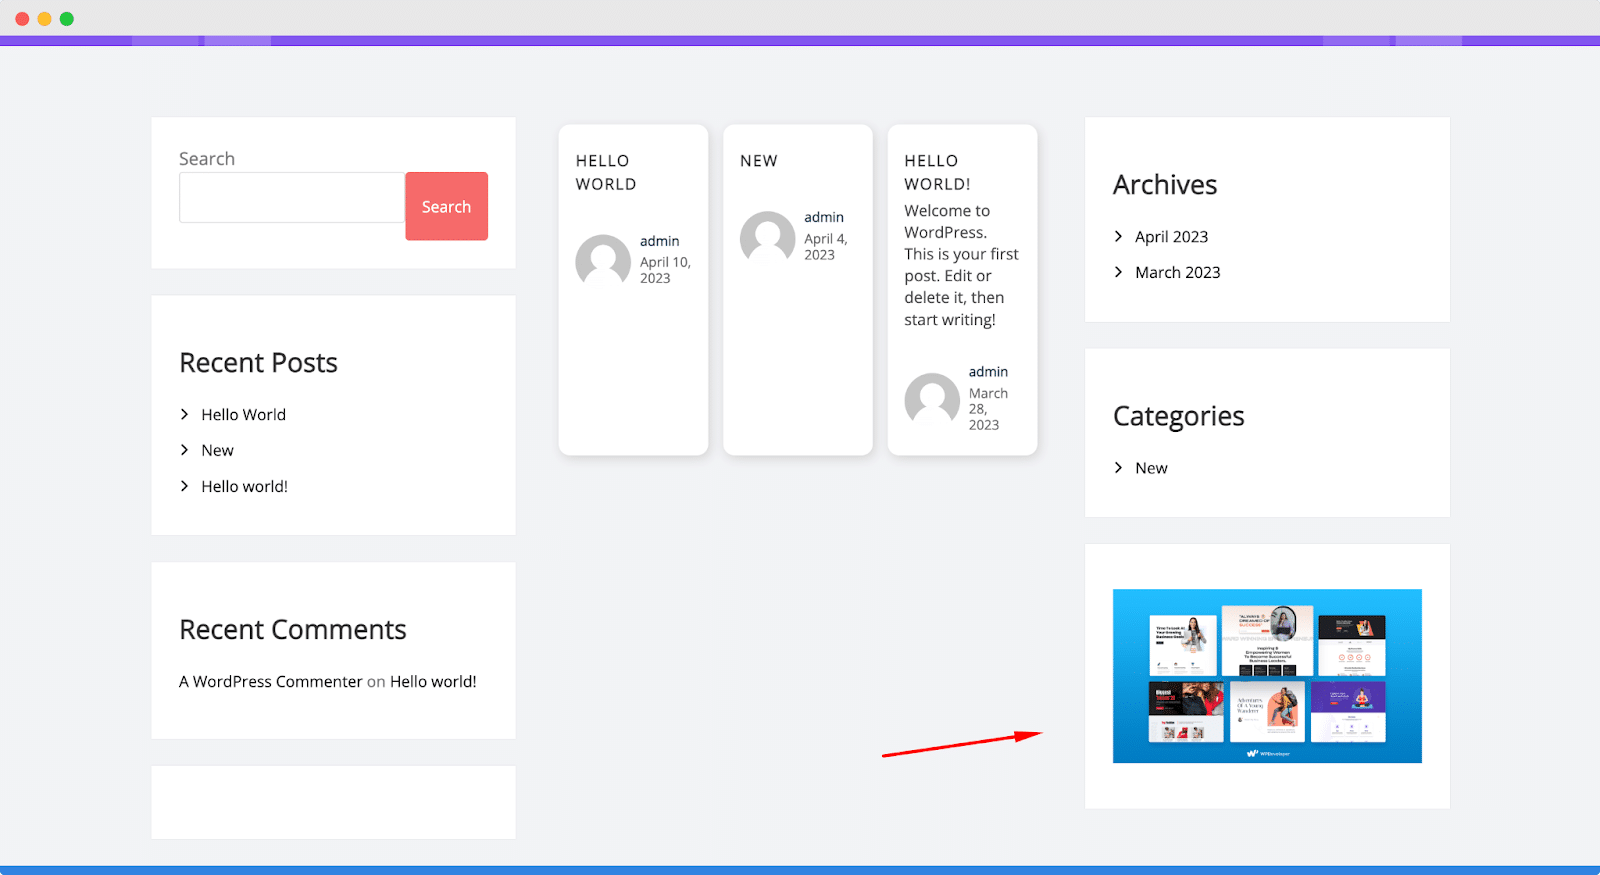
This is how easily you can configure Flexia theme widgets settings in your WordPress website.
Get stuck? Feel free to contact our dedicated support team.


