Flexia Pro offers an advanced Blog feature to create a stunning Blog page on your website with ease. So, you can create attractive blog pages and share your blog post in a visually appealing manner.
Follow this step-by-step guide to create a customized blog page on your website using the Flexia theme.
Step 1: Open The Blog Style Customizer #
First, go to the WordPress dashboard and navigate to ‘Appearance’→ ‘Customize’. It will open the Flexia customer where you will find the option for setting up the blog page.
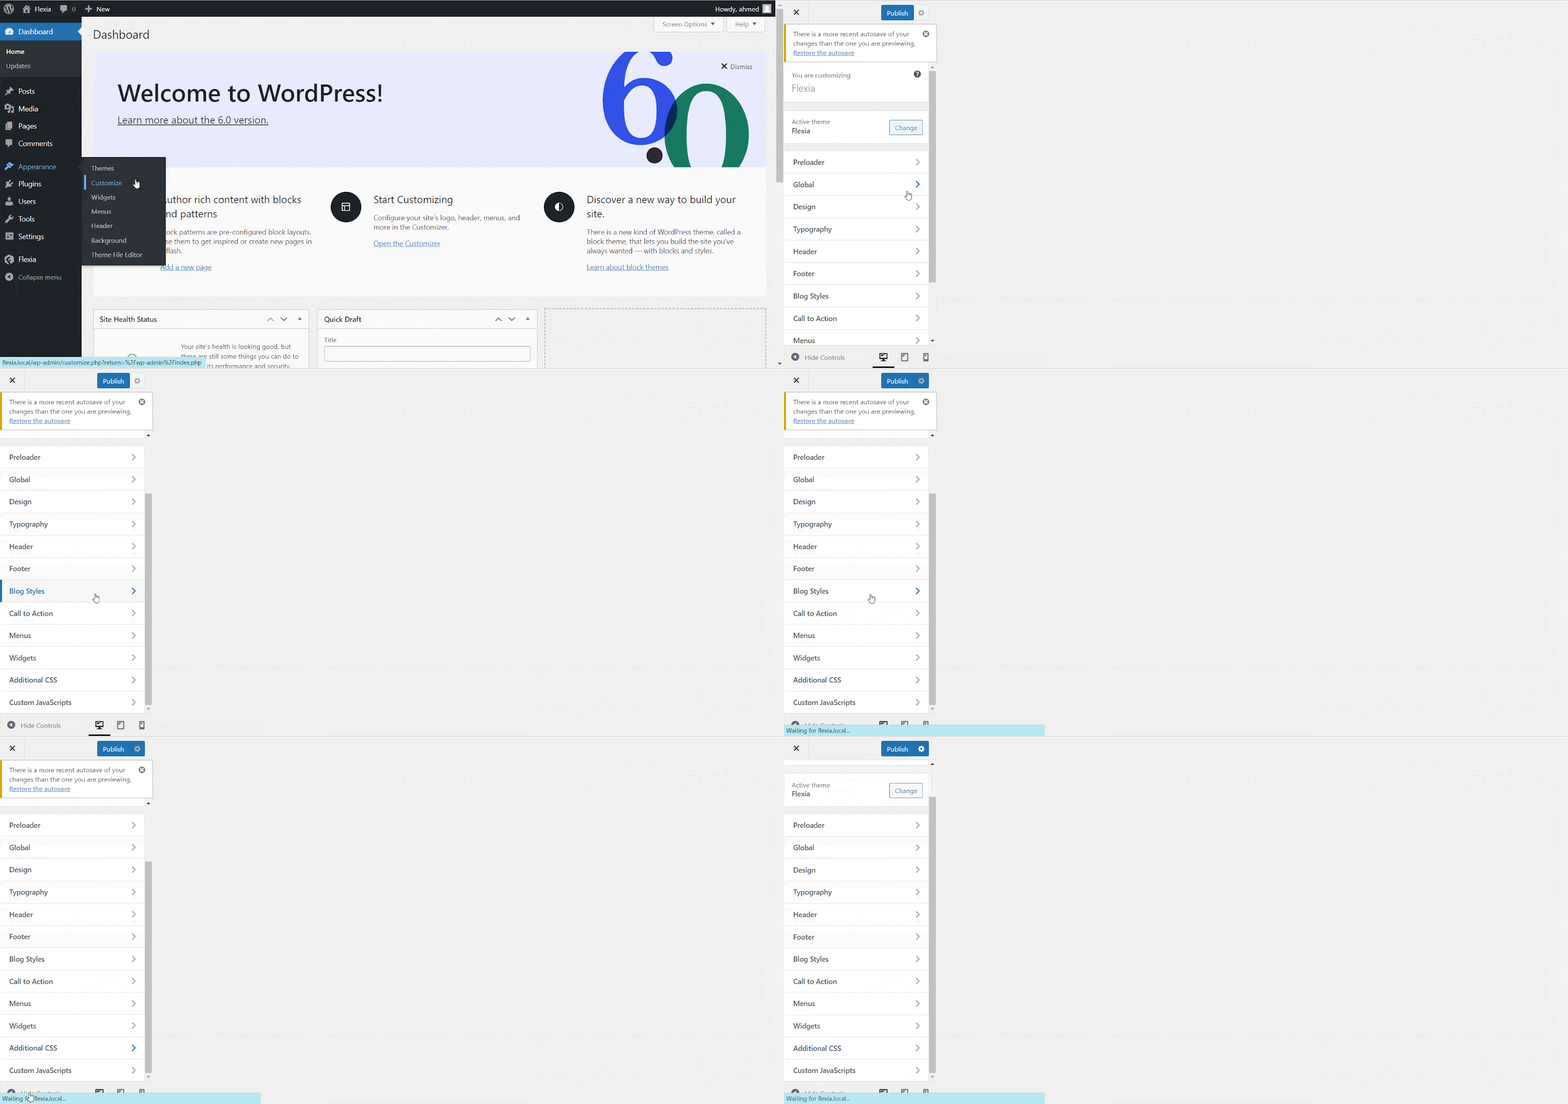
Now, click the ‘Blog Style’ option to open the blog style customers. There you will find all the options that you need to create a customized blog page.
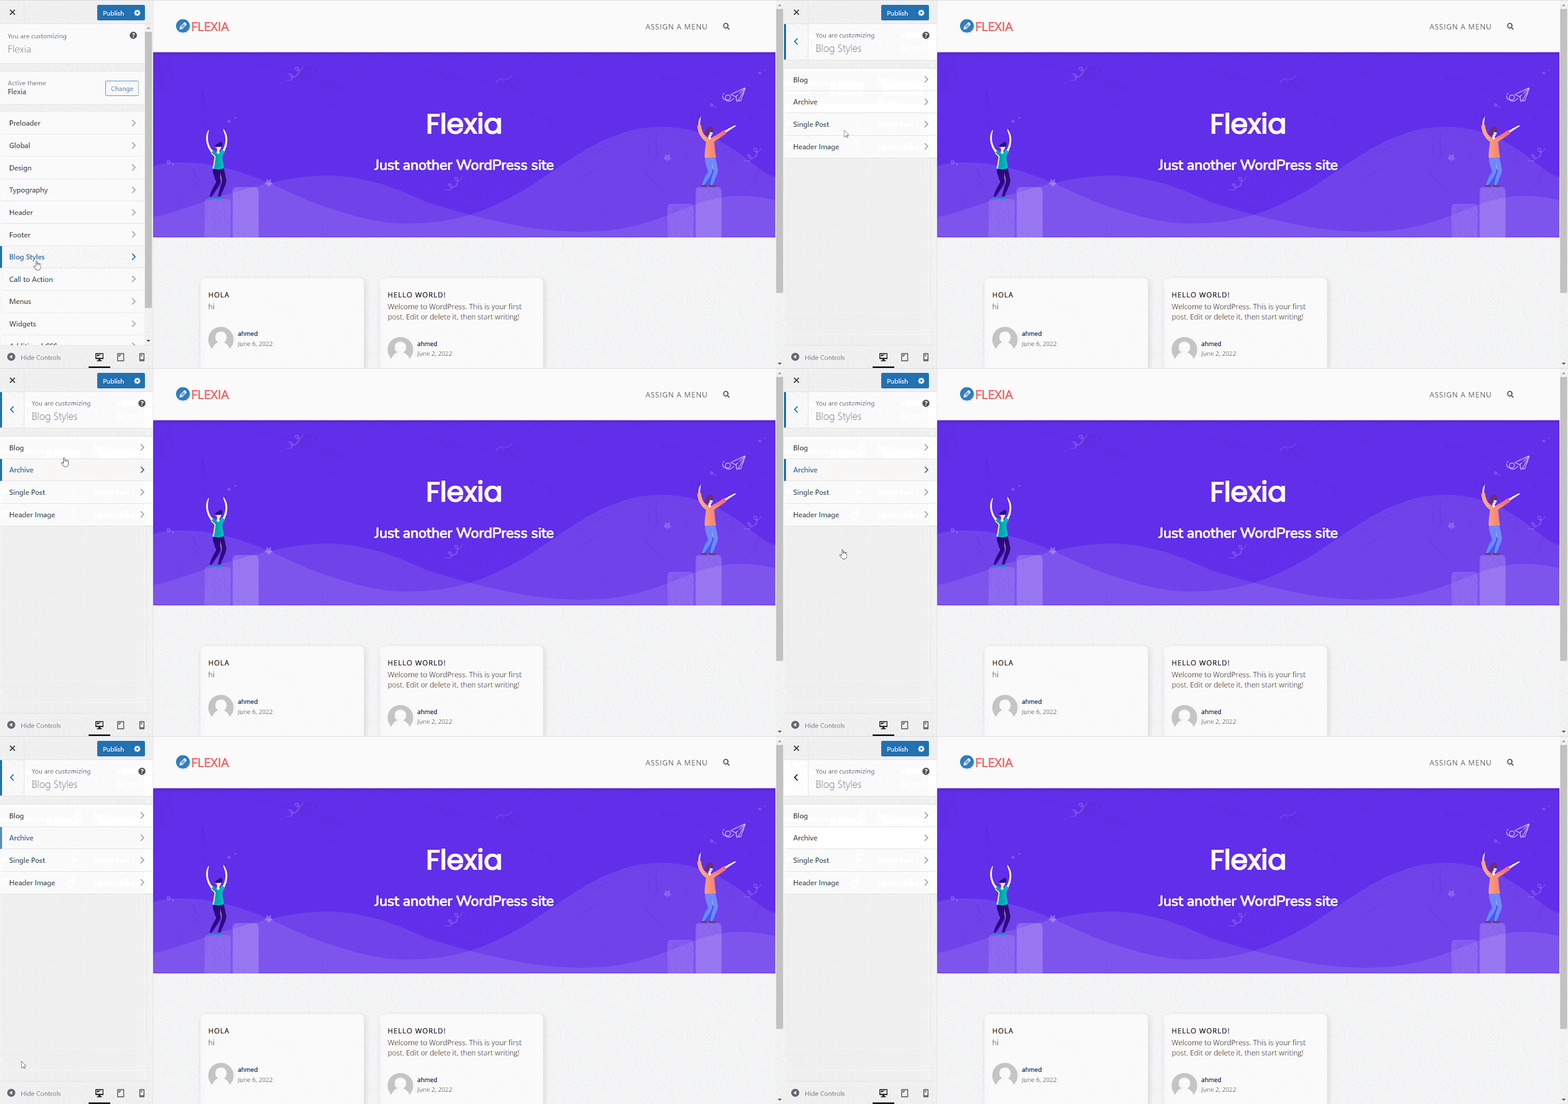
Step 2: Customize Your Blog Style #
Now, you can customize the Blog, Archive, Single Post, and Header Image and make your blog page look just the way you want. Below you will find the descriptions of each category.
Blog #
The blog tab comes with two options for customization. You can customize the ‘Header Setting’ and ‘Content Settings’ from there. To customize the header settings of the blog page click on the ‘Header Setting’ and open the customizer where you will find options to change the color, background, font, description, icon, etc. You can also enable or disable the header from there.
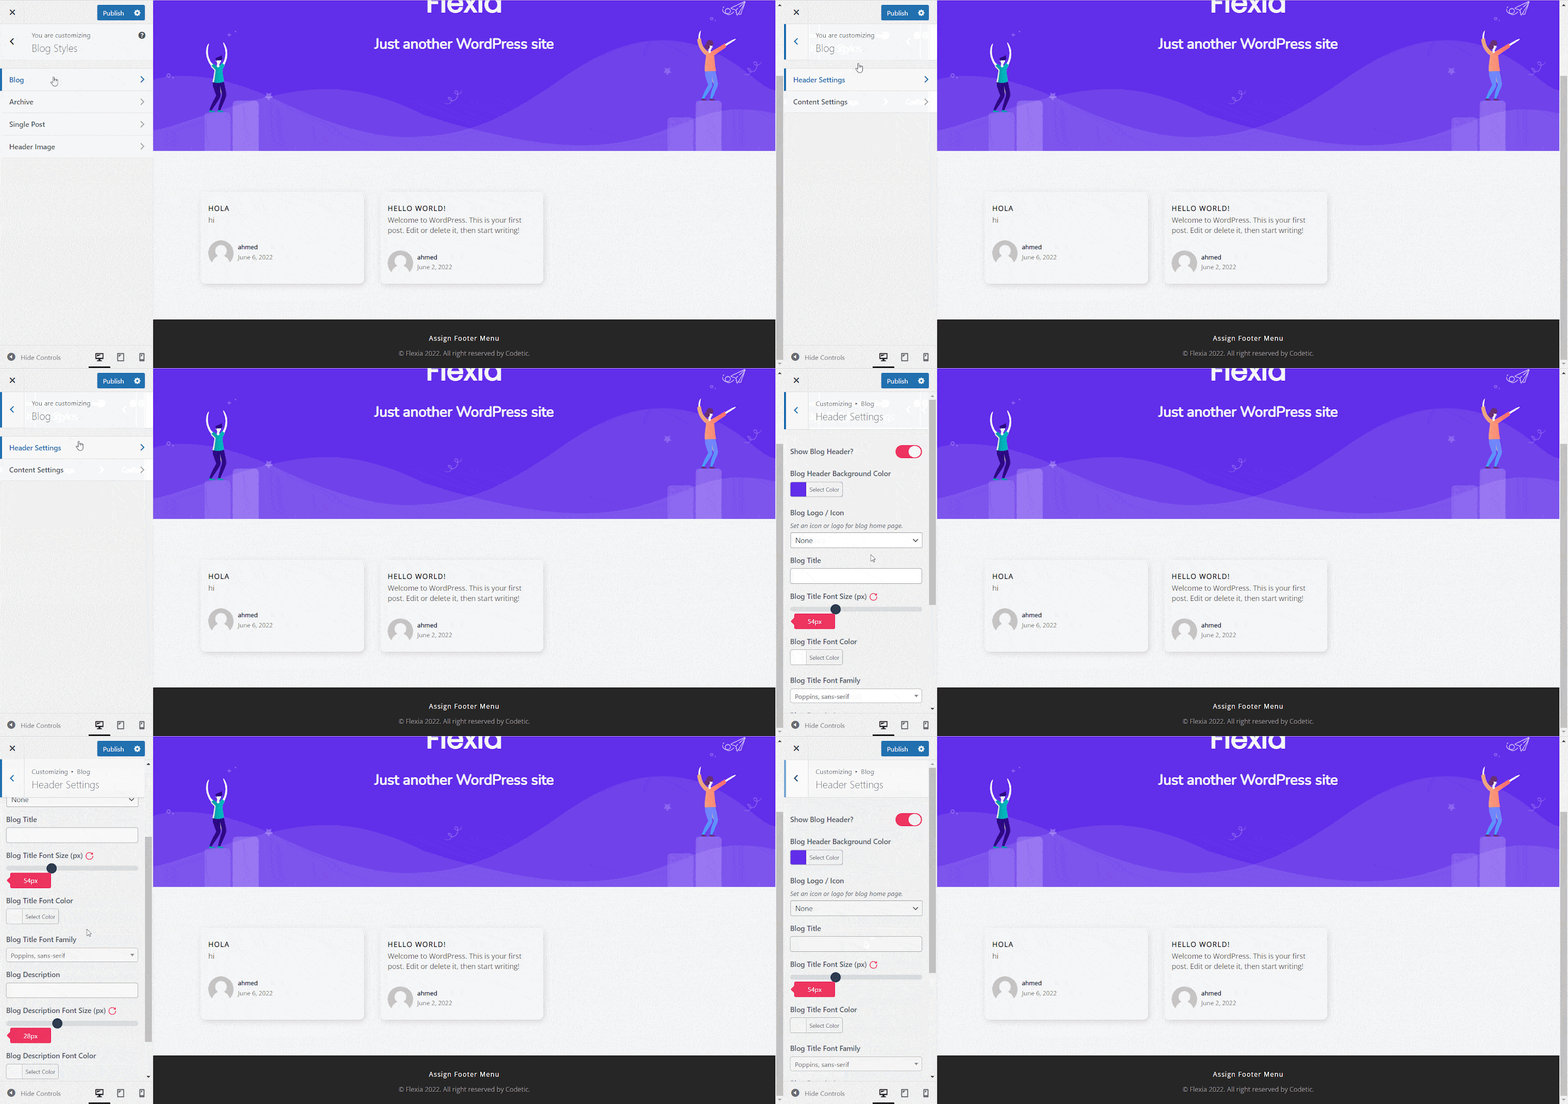
Now, personalize any option you want to make changes to the blog page of your website. Once you are done, click on the ‘Publish’ button to make the change live.
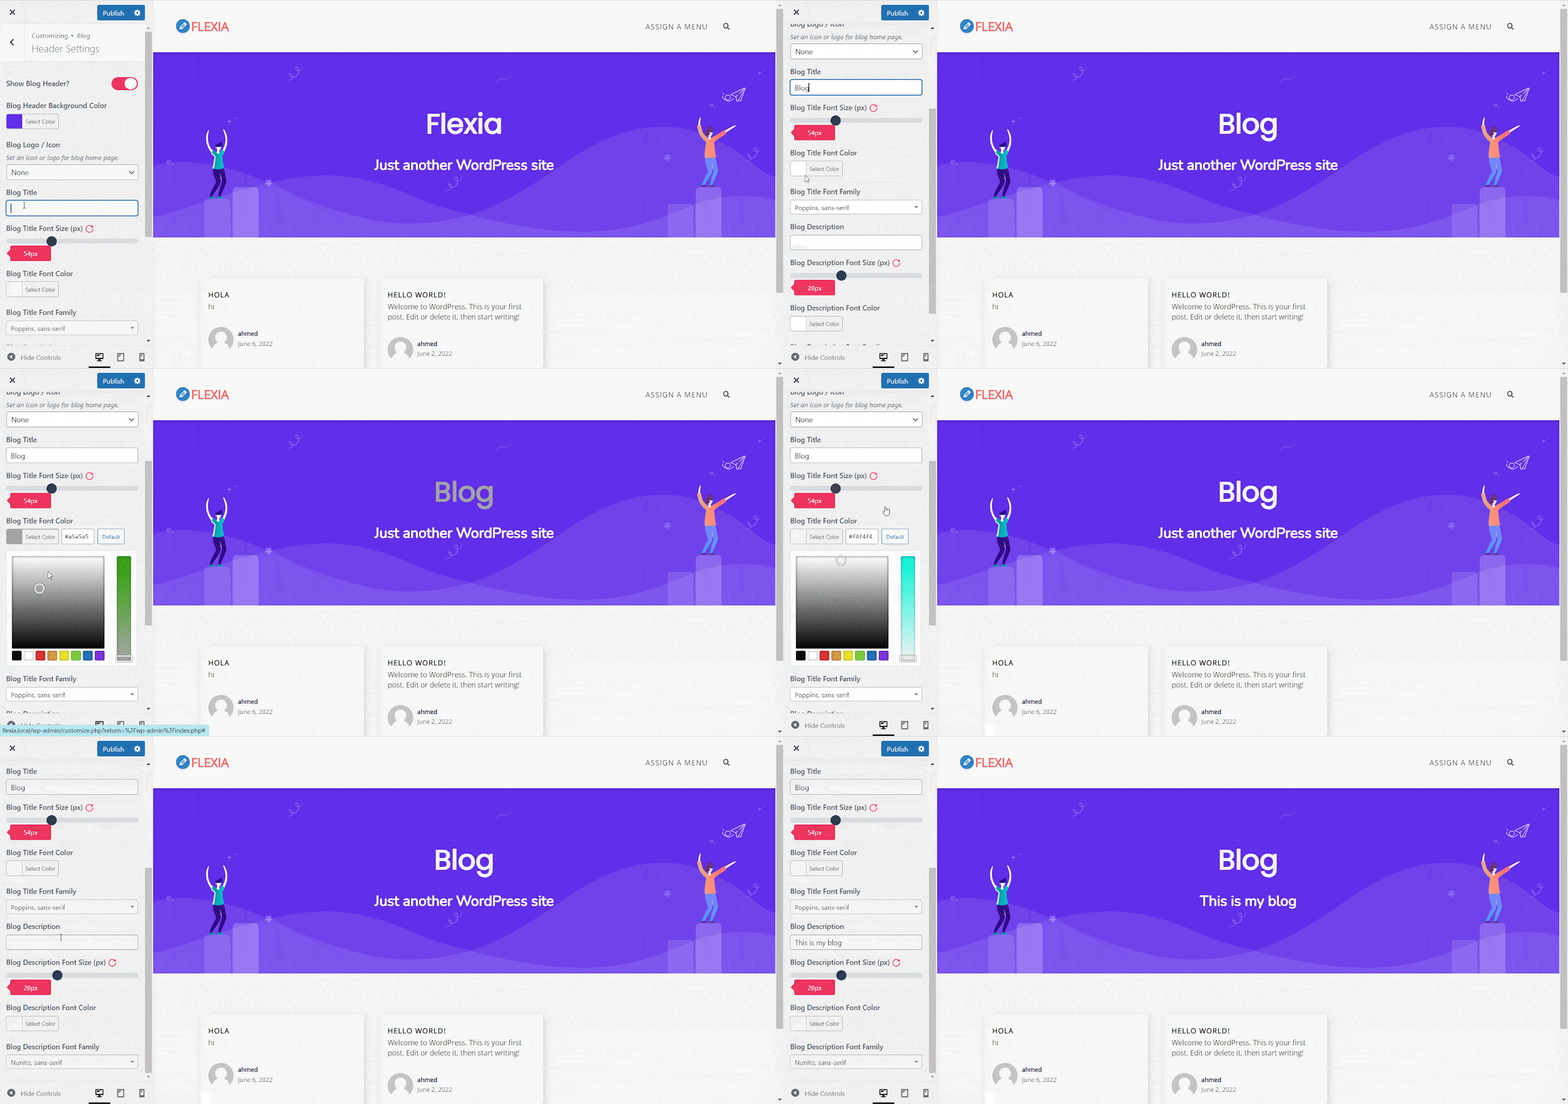
Similarly, you can go to ‘Content Setttings’ where you will find ultimate personalization options for your blog content. The option for customizing the content layout, a post per page, except word count, card style, buttons, etc.
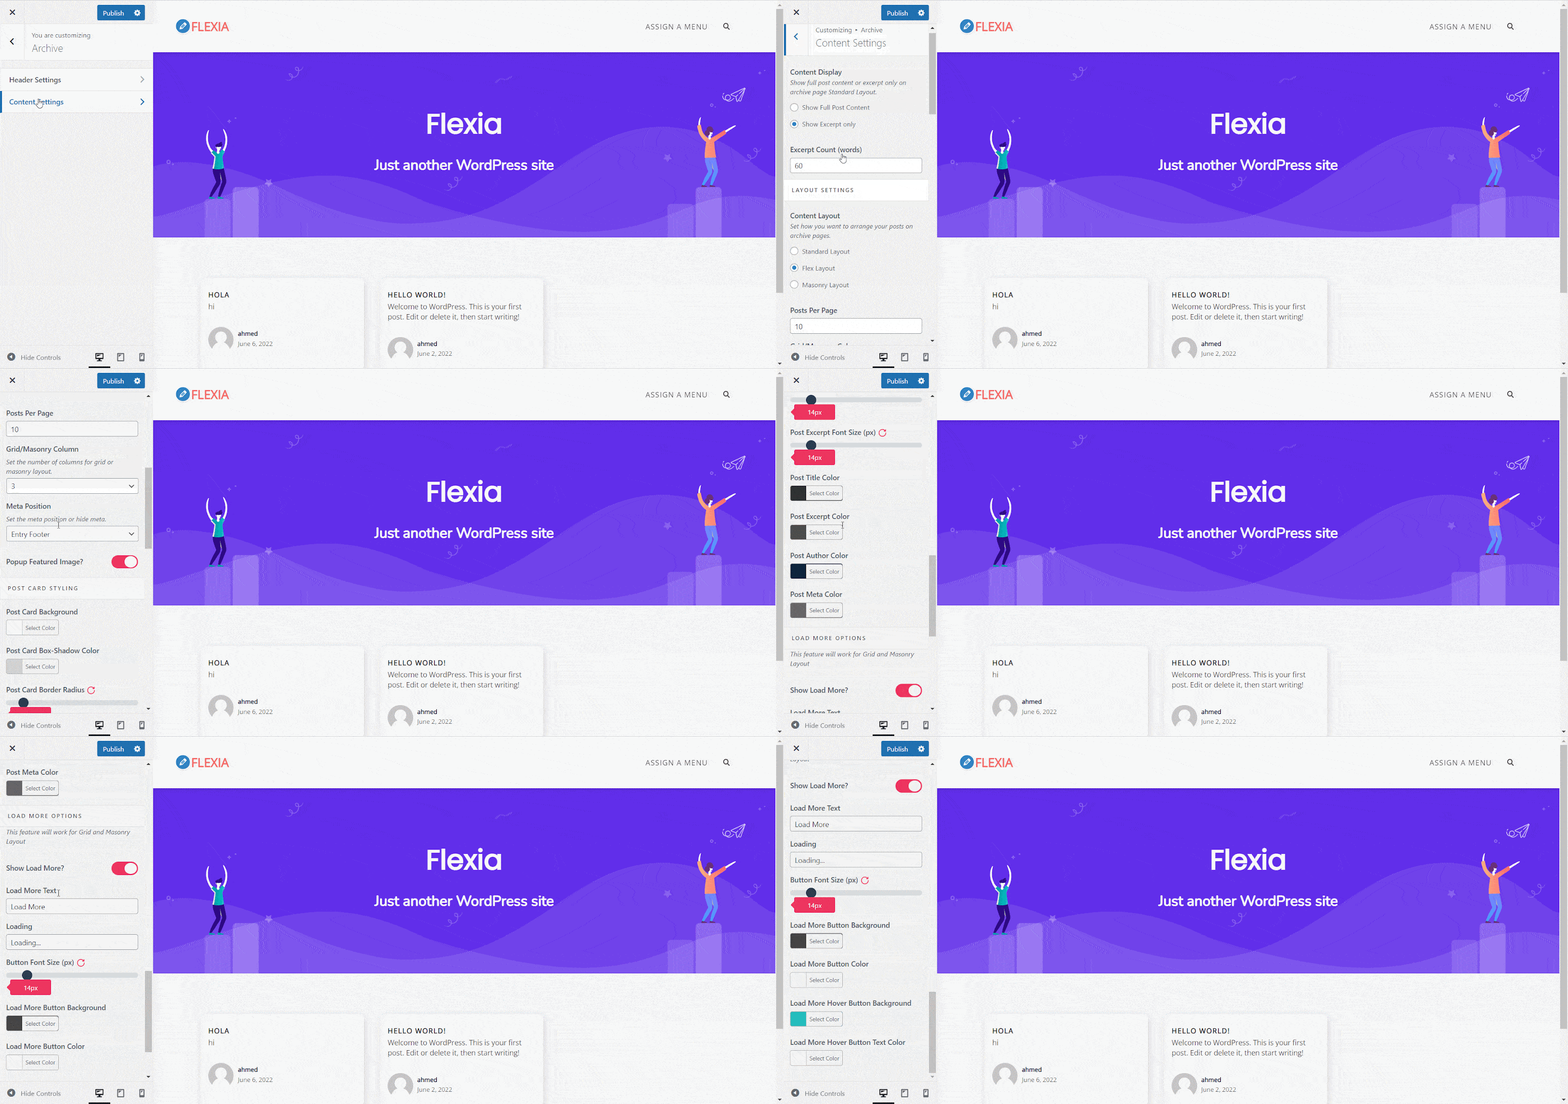
Now, make changes as you like to create your blog page more interesting for your visitors. Once you are done, click on the ‘Publish’ button.
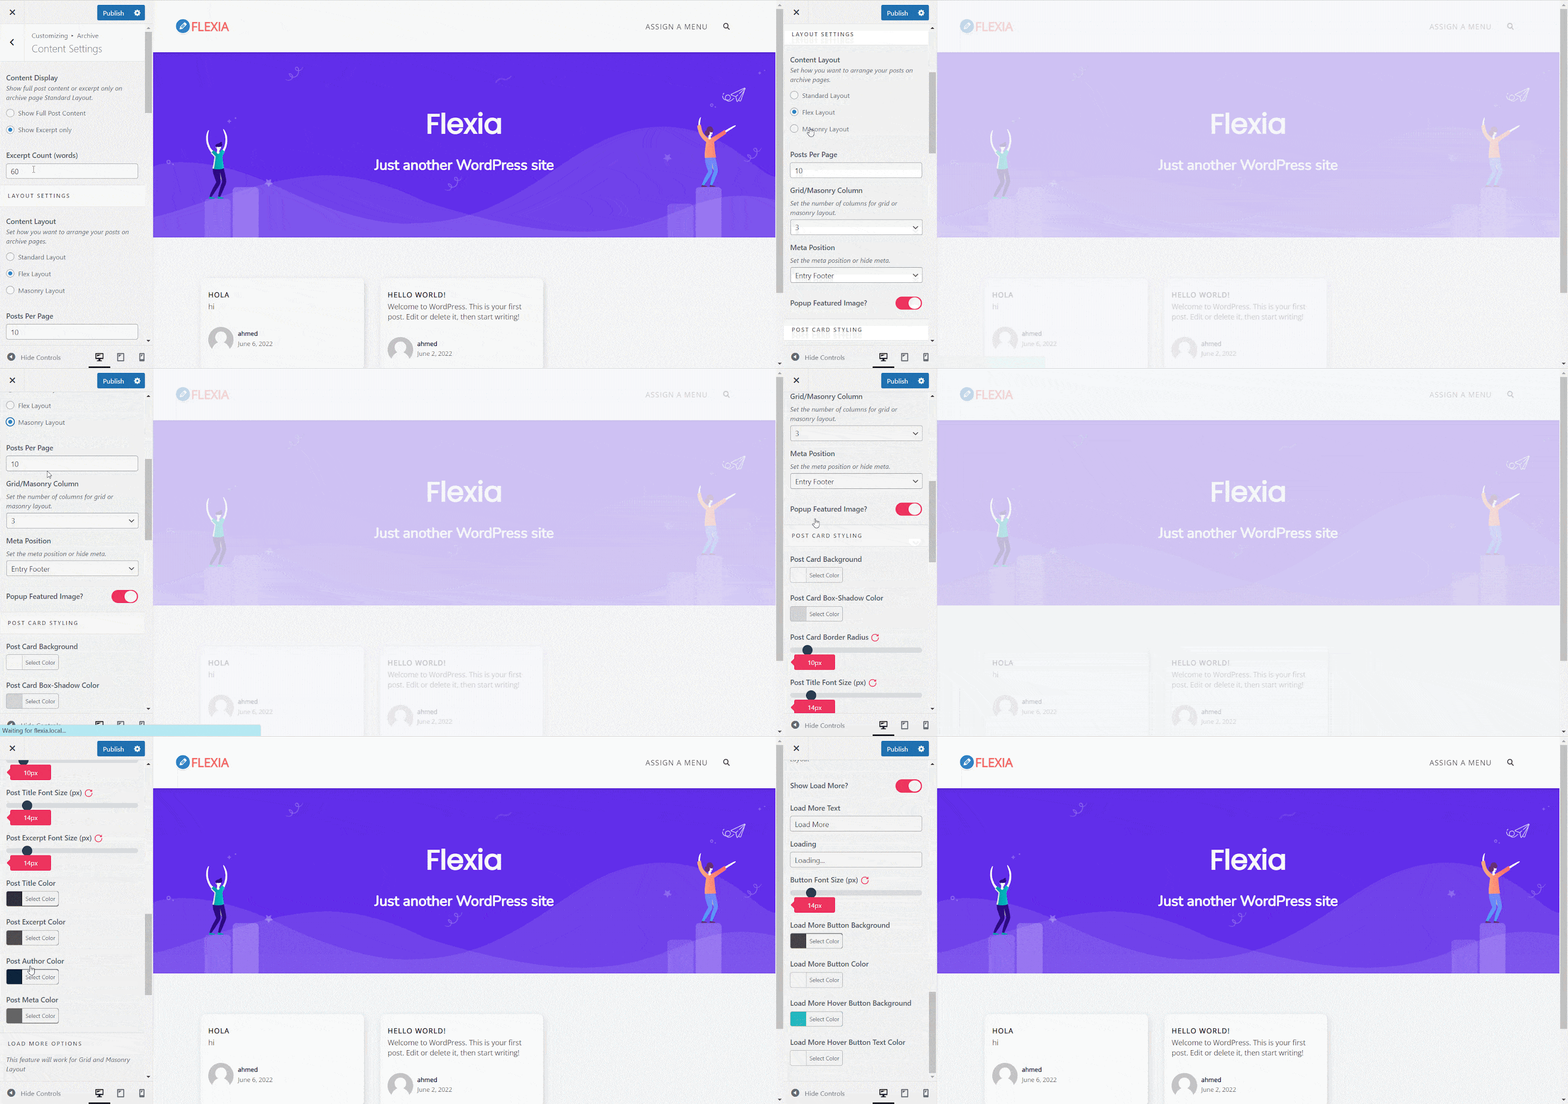
Archive #
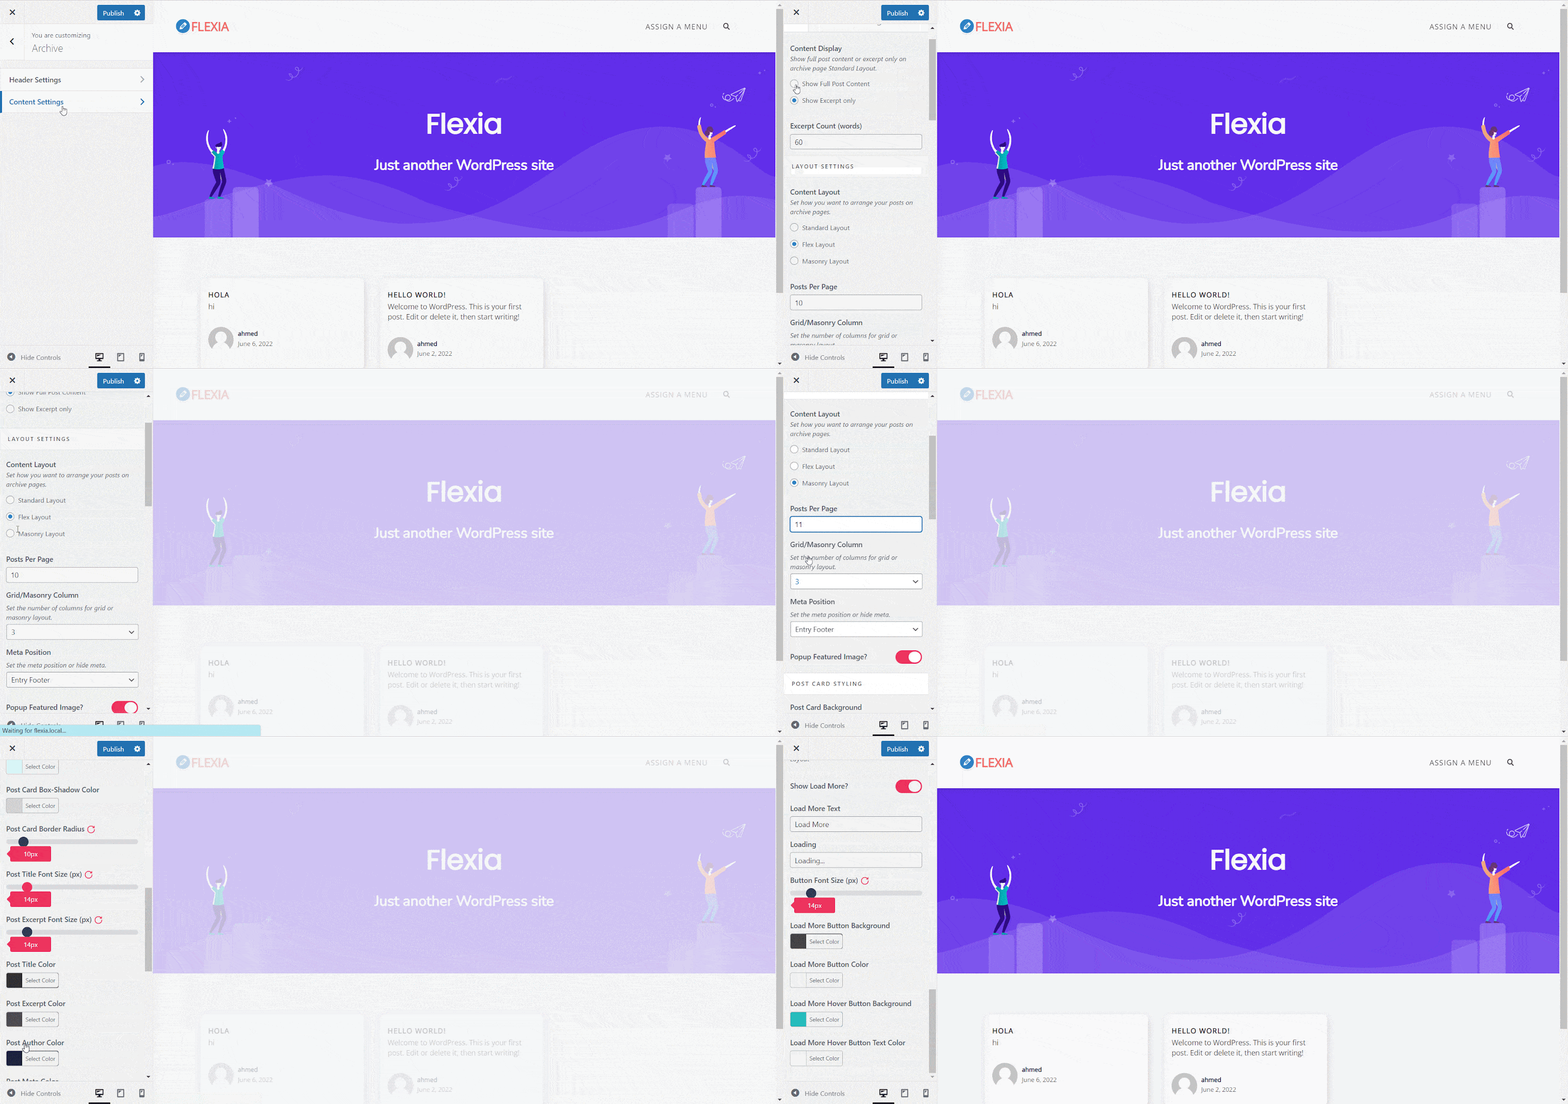
The archive page store all the blogs that have similar tags, types, and categories. You can also customize your archive page with the Flexia theme. Similar to the blog page you will find ‘Header Setting’ and ‘Content Settings’ options in the Archive customizer tab.
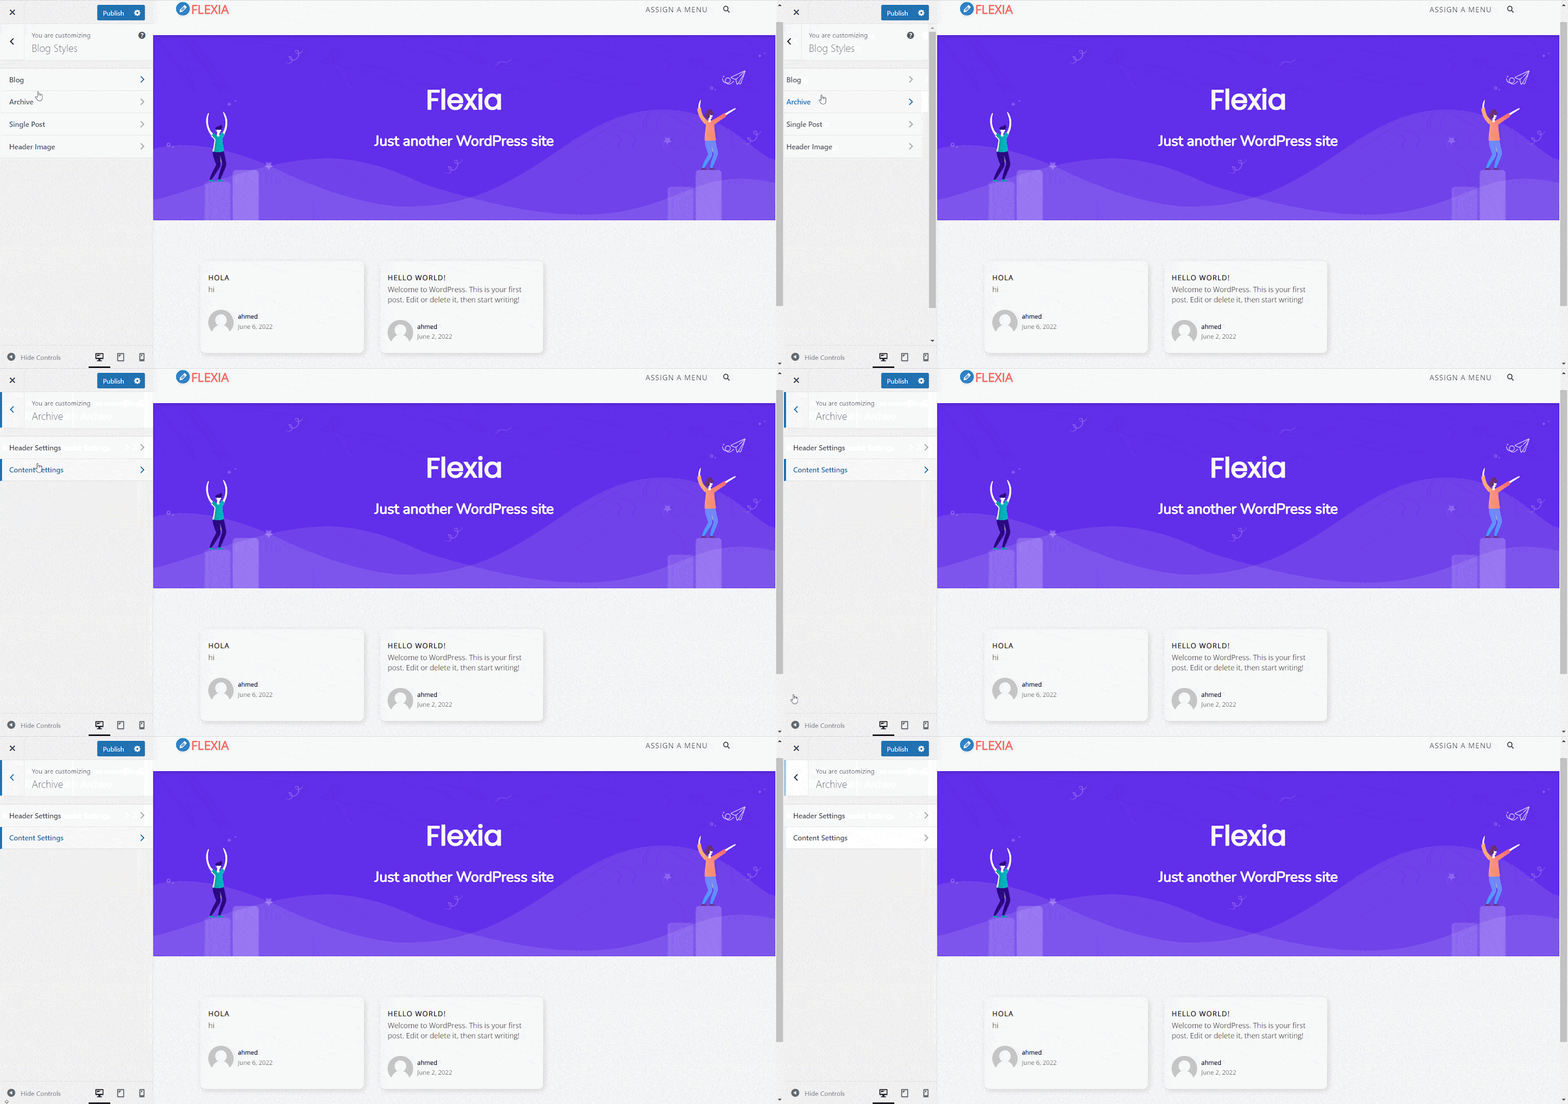
Now, open the ‘Header Settings’ and give your personal touch on your Archive page. You can change the background color of your archive page, change font and size, etc. from there then hit the ‘Publish’ button.
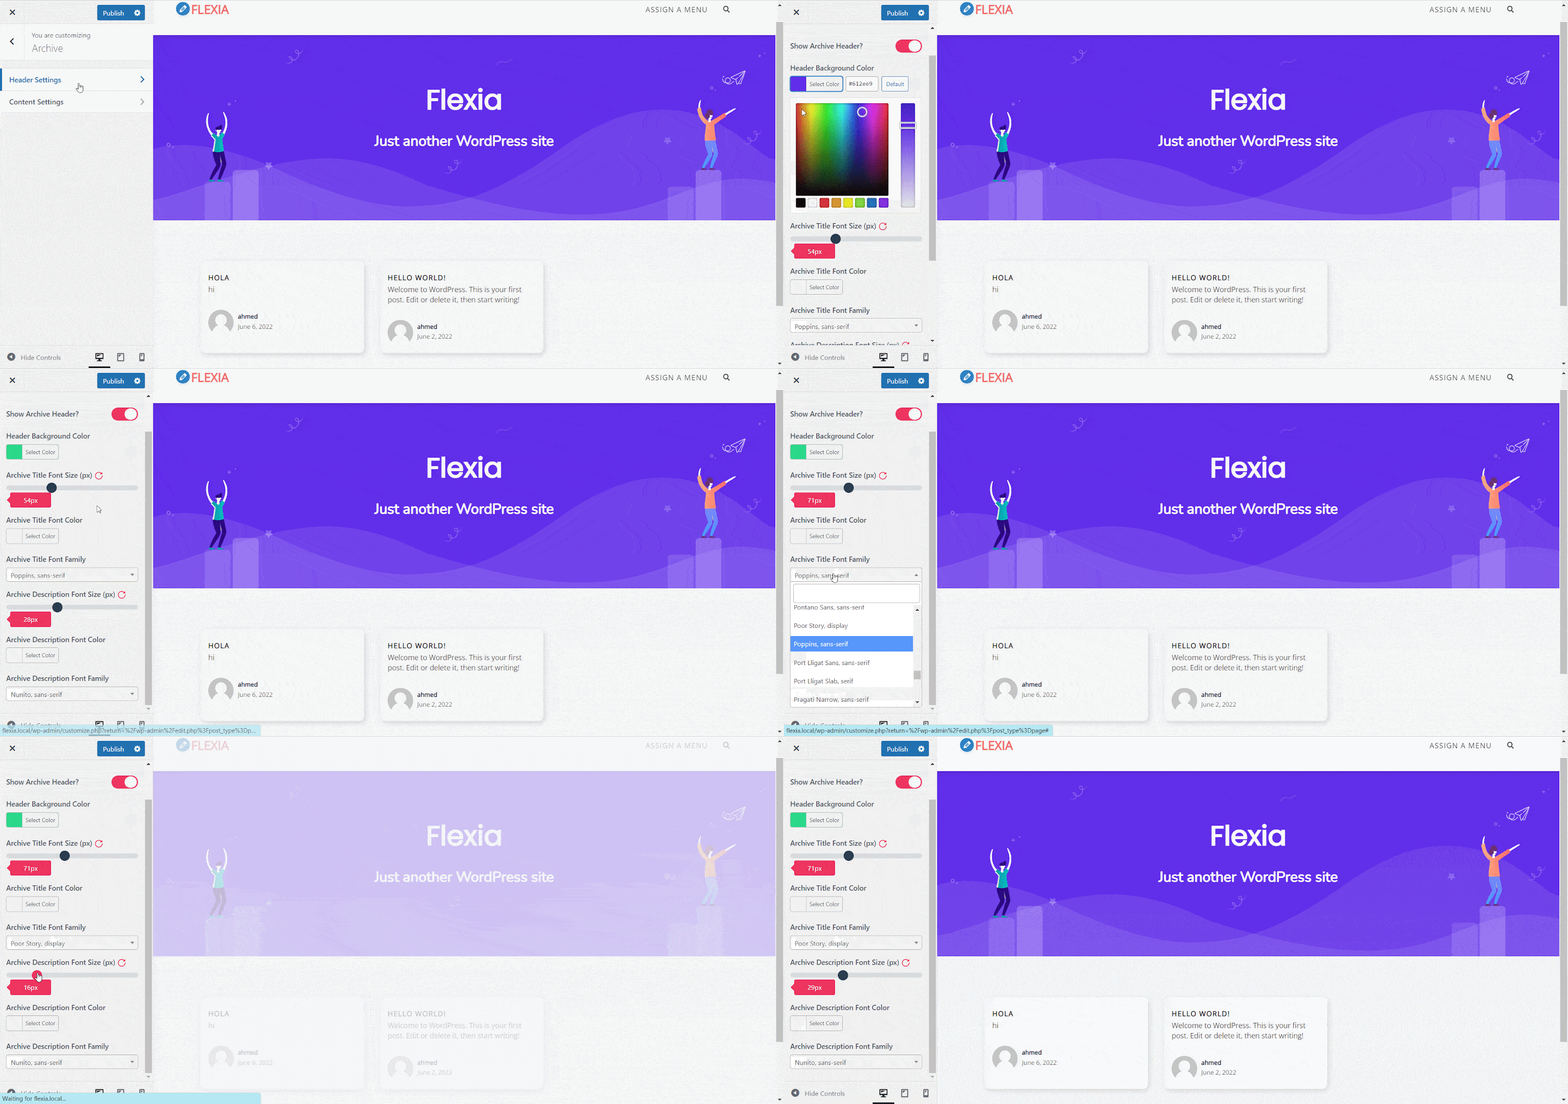
Similarly, go to the ‘Content Settings’ and make changes to the content pages. You can change how your content will display, a post per page, cart style, etc. from there for the archive page and hit the ‘Publish’ button.
Single Post #
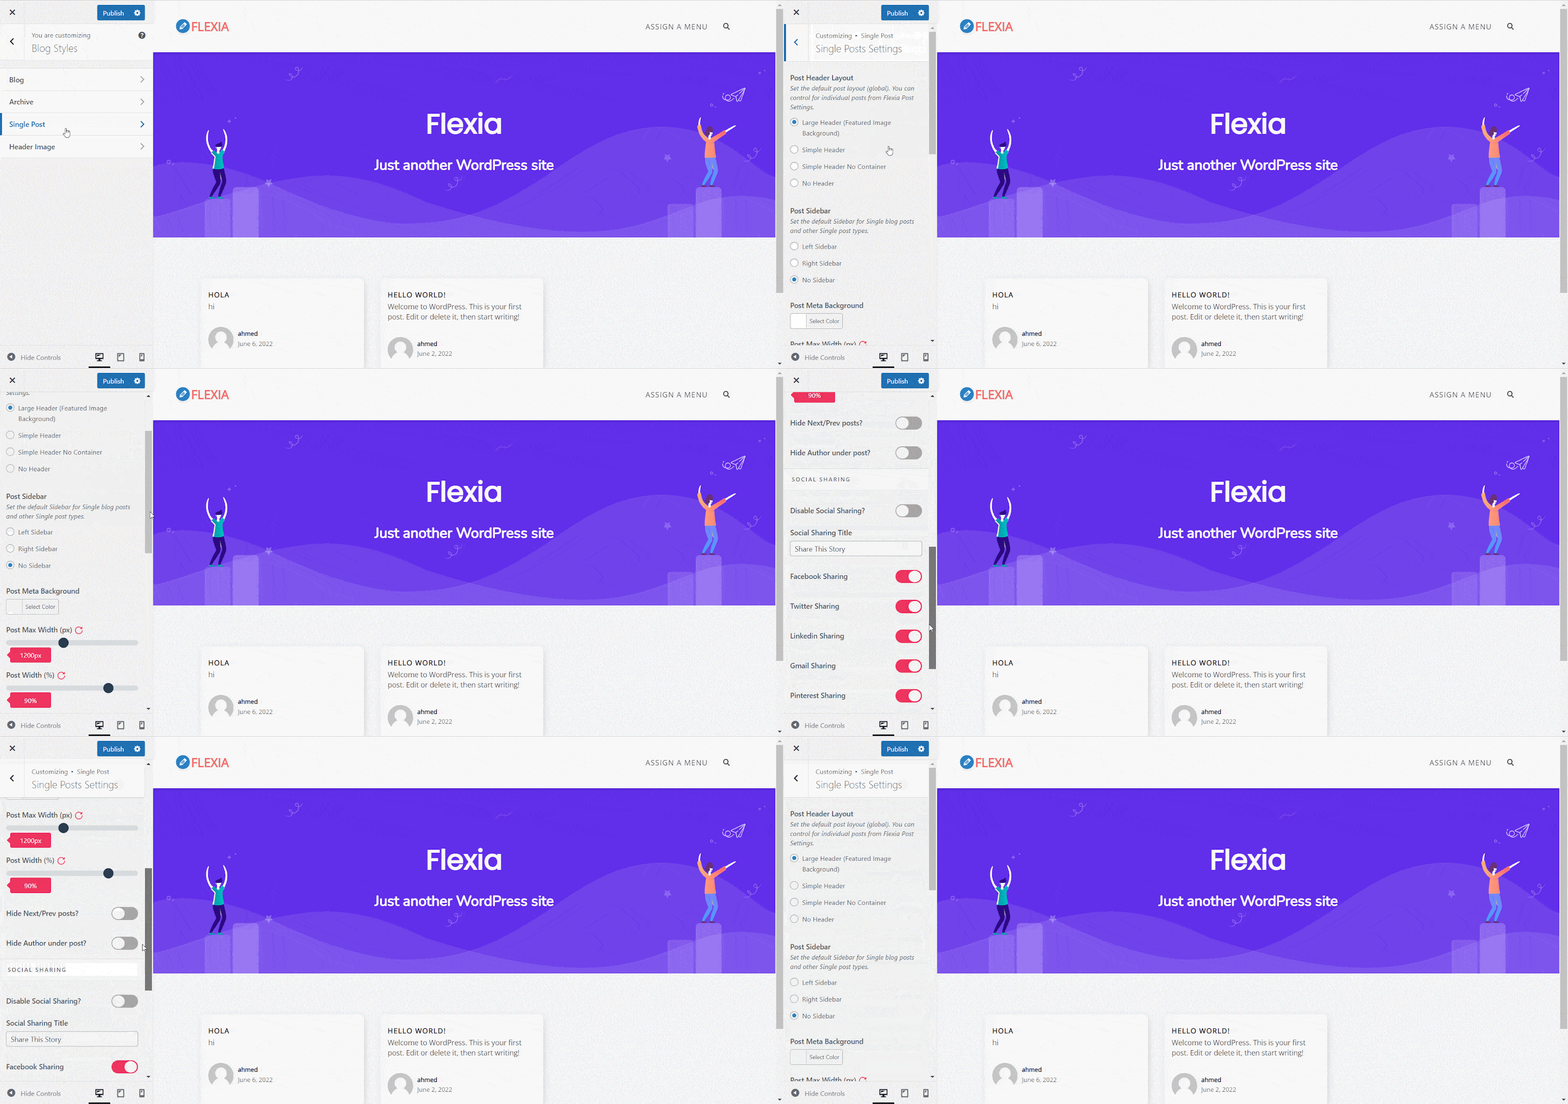
Flexia also offers to customize the single post pages. Go to the ‘Single Post’ tab from the ‘Blog Style’ and then hit the ‘Single Post Settings’ to make the changes. There you will find the options to customize the post header layout, post sidebar, meta background, social share option, etc. Now, give make the customization and hit the ‘Publish’ button.
Header Image #
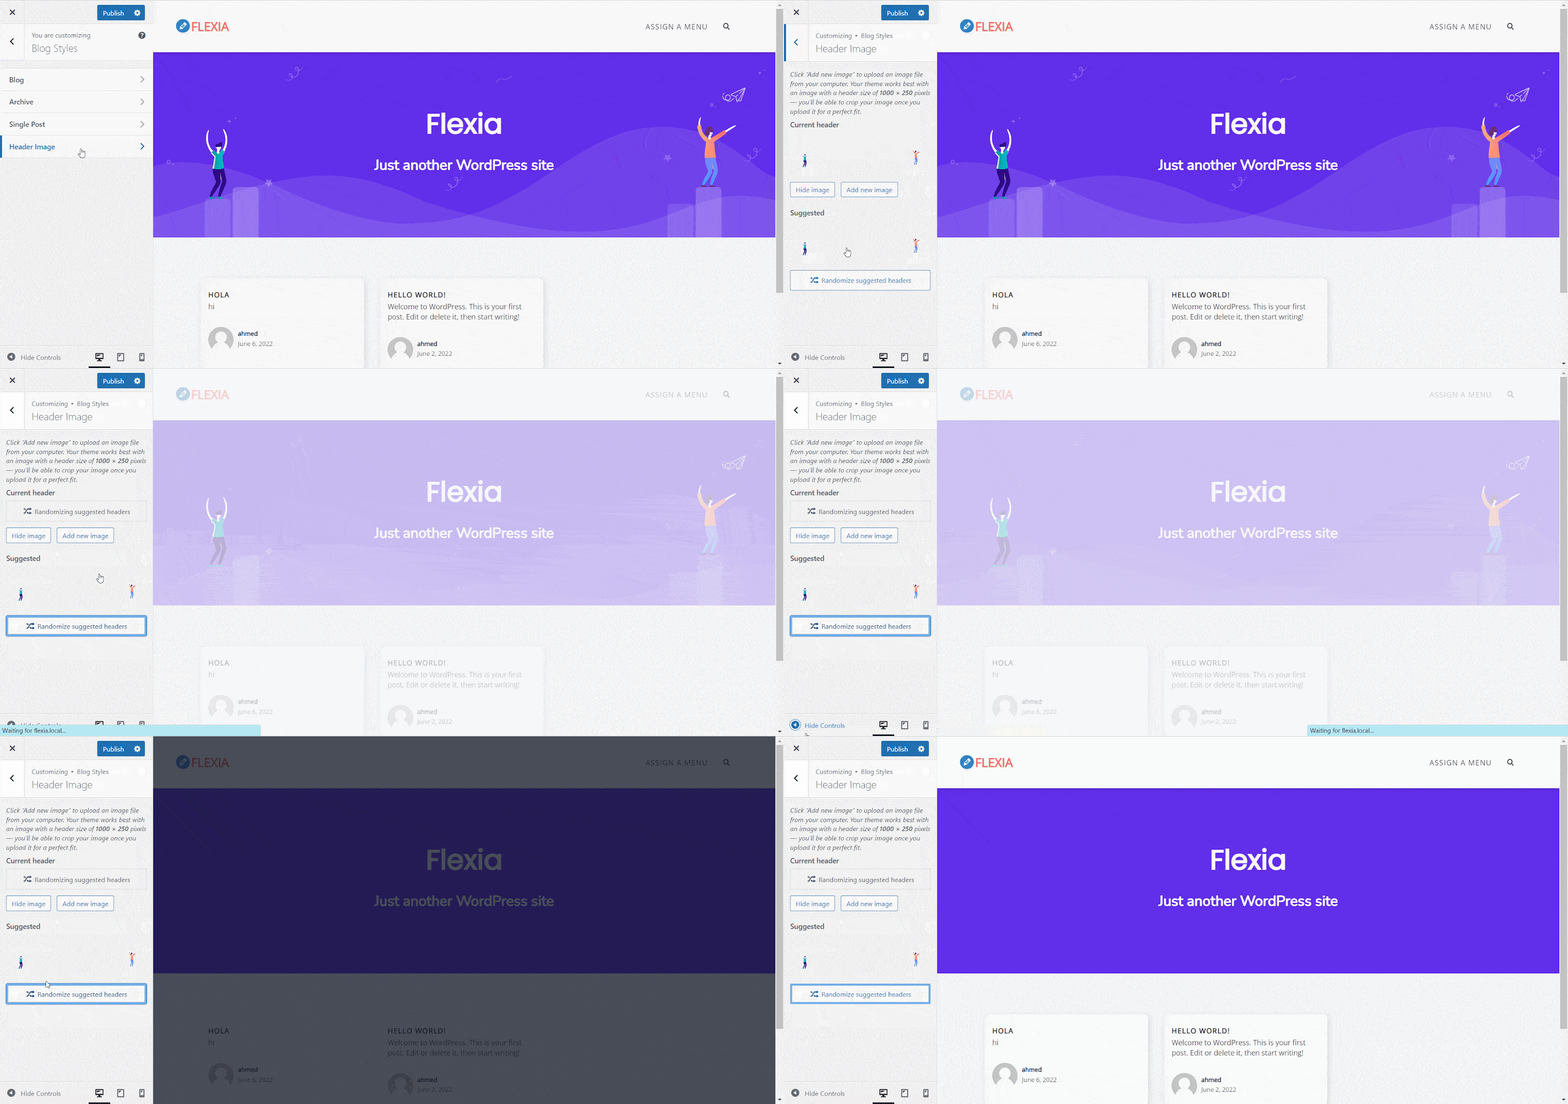
From the ‘Header Image’ option, you can make changes to your header and add any image or icon there. Besides, you can set a random image for your header. Once you have added your header image hit the ‘Publish’ button to bring it live on your website.
This is how you can create a customized blog page on your website using the Flexia theme.
Get stuck? Feel free to contact our dedicated support team.


