With Flexia, you can customize the website logo and navbar with the flexibility to set multiple layouts and stack options. You can set a stacked Logobar and Navbar or get them in line. Follow this tutorial to learn how you can set stacked Logobar and Navbar.
Step 1: Go To The Header Layout Options On Flexia #
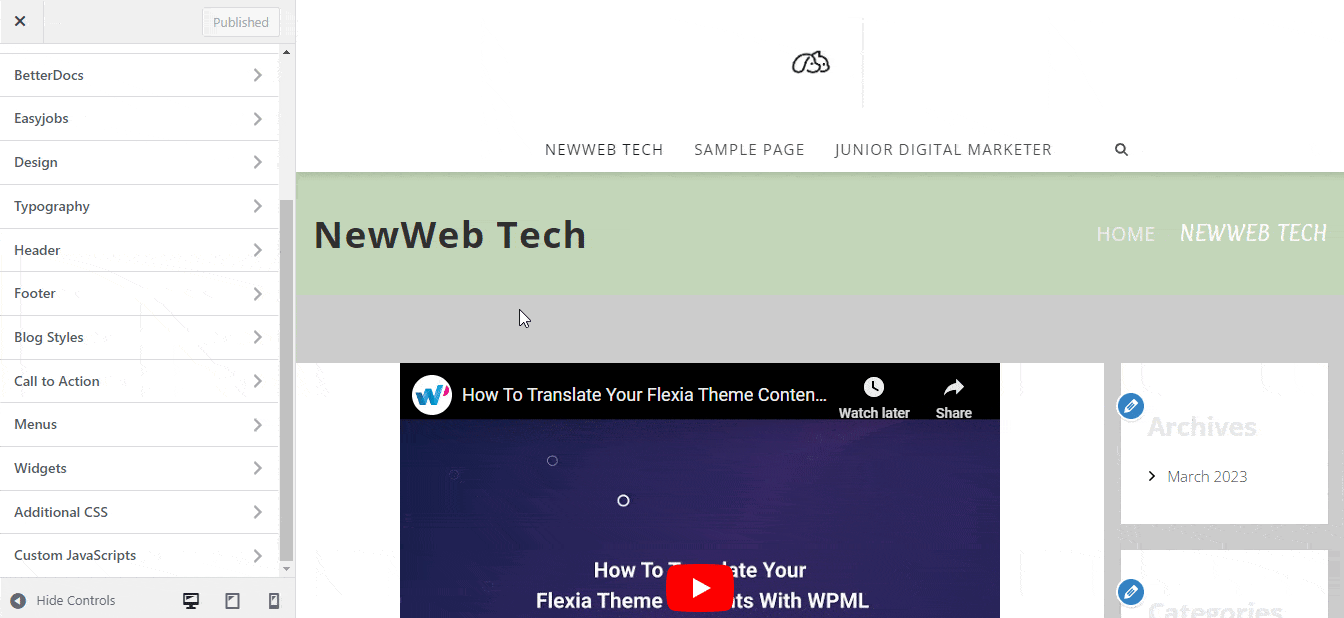
To set a sticky header on your landing pages or blogs on Flexia, open the Layout from Flexia’s Header tab. Go to Appearance → Customize from your WordPress dashboard and choose the Header option to open the Layout menu.
[Note: You must install and activate the Flexia theme on your WordPress website before setting a sticky header.]
Step 2: Change Header Styles #
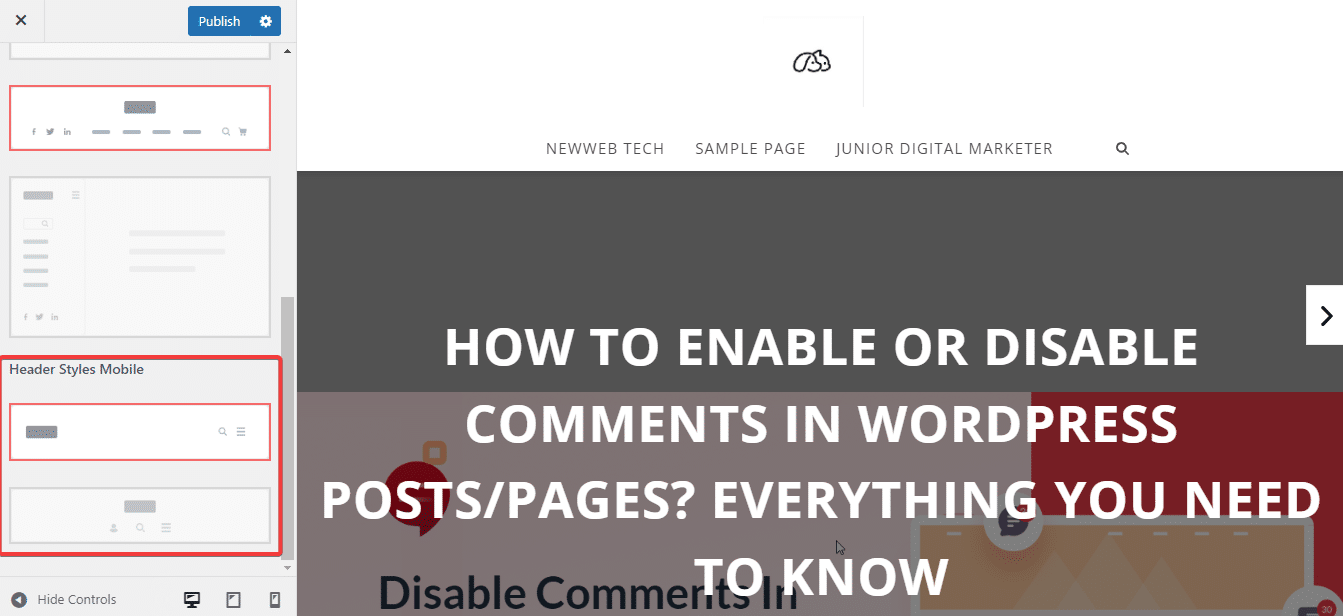
Change your header style from the five presets or template options to get your preferred Logobar and Navbar style. When you select a template (inline or stacked), you will also have the option to select the Navbar position.
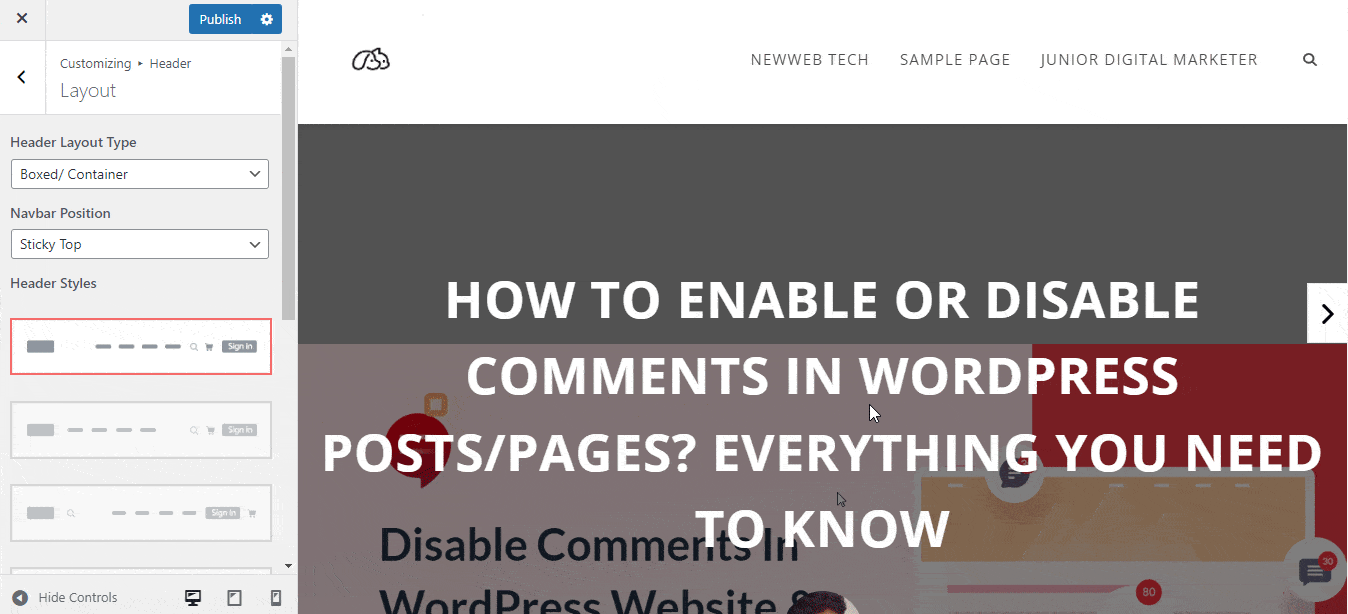
As Flexia is fully customizable and responsible for mobile devices, there are also options available to change Logobar and Navbar positions.
Final Outcome #
Once you are done selecting your preferred header style with the navbar position, click the publish button and visit your page to see the difference.
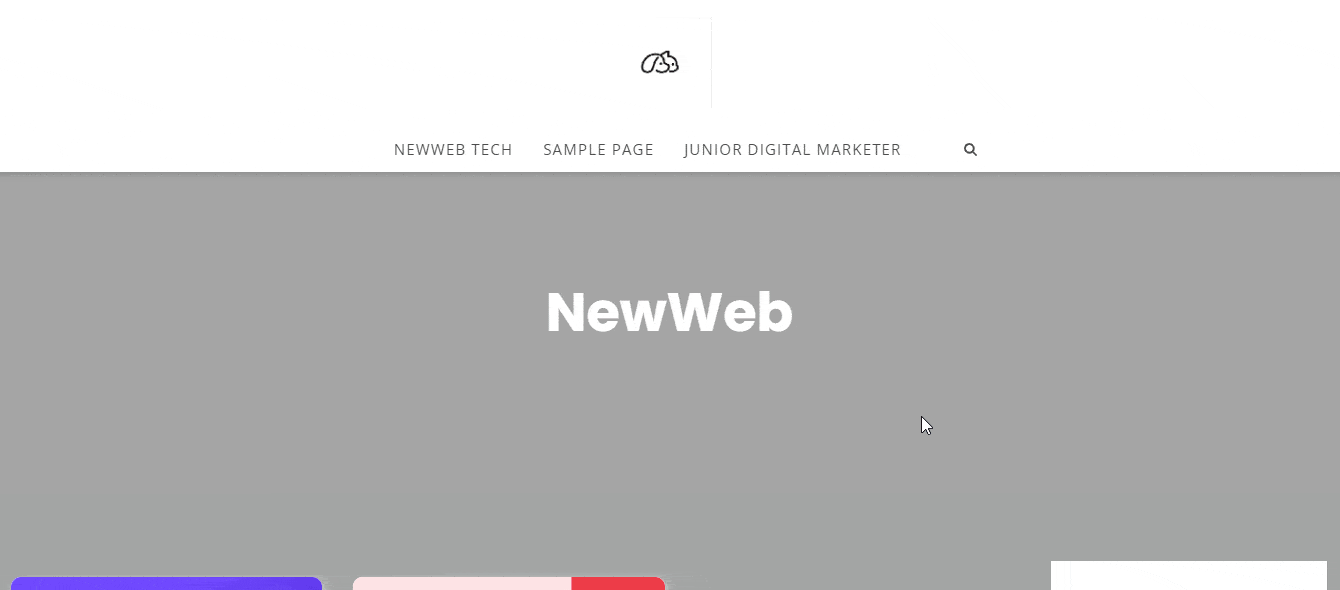
That’s how easily you can set a stacked logo bar and navbar on Flexia.
For any difficulties, feel free to contact our dedicated support team.


